Start your 3-day free trial
Sign up to experience all premium features at no cost.
*Available only to new users. Each user is limited to one trial.
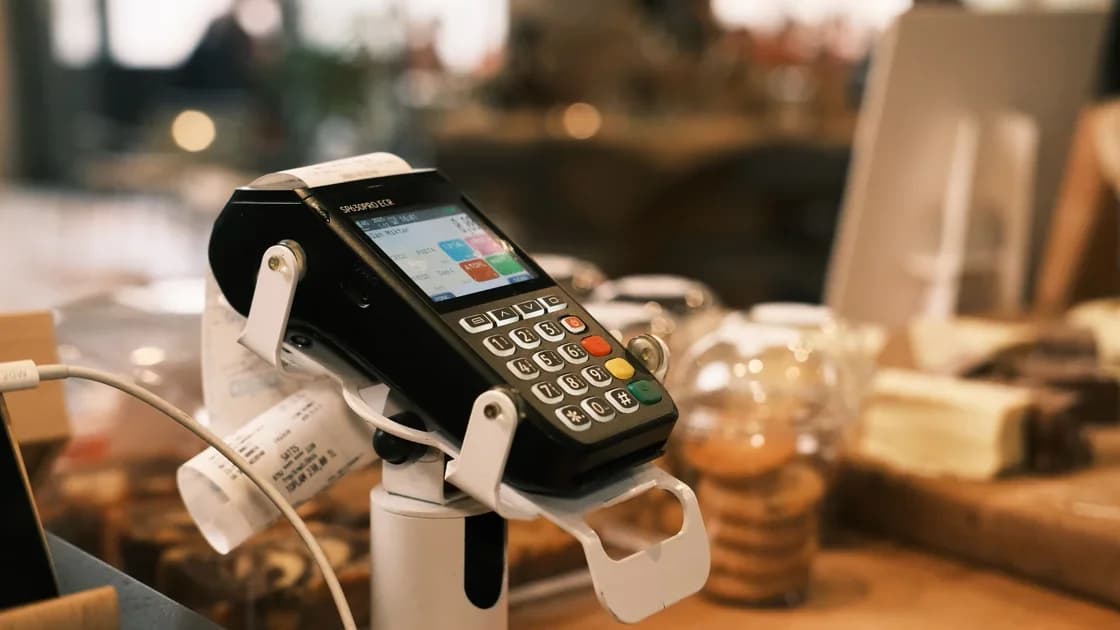

Yes, you can usually use contactless abroad wherever the terminal shows the contactless symbol and accepts your card or wallet, but acceptance and verification rules vary. To use contactless payments safely while traveling, prepare both the payment method and its recovery route before departure, then verify the merchant, amount, and currency on every terminal before tapping. Keep the card or unlocked device under your control, wait for a clear approval or cancellation, save enough information to reconcile the charge, and know how to suspend the card or wallet if it is lost.
Key Takeaways:
- A physical contactless card and a mobile wallet are different credentials with different controls and recovery paths.
- Confirm destination support, issuer access, device lock, alerts, and a backup payment method before travel.
- Read the terminal before tapping; contactless technology cannot correct a wrong amount, wrong currency, or wrong merchant.
- Do not tap repeatedly after an unclear error. Ask for the transaction status or cancellation before trying another method.
- Contactless and mobile-wallet security controls reduce particular risks, but “NFC” is not a guarantee against theft, fraud, social engineering, or merchant disputes.
This guide covers safe use at the payment point. It does not decide whether to accept currency conversion, compare foreign transaction fees, promise protection from nearby radio signals, or teach chargebacks. Prepare accounts and recovery channels with the travel banking checklist.
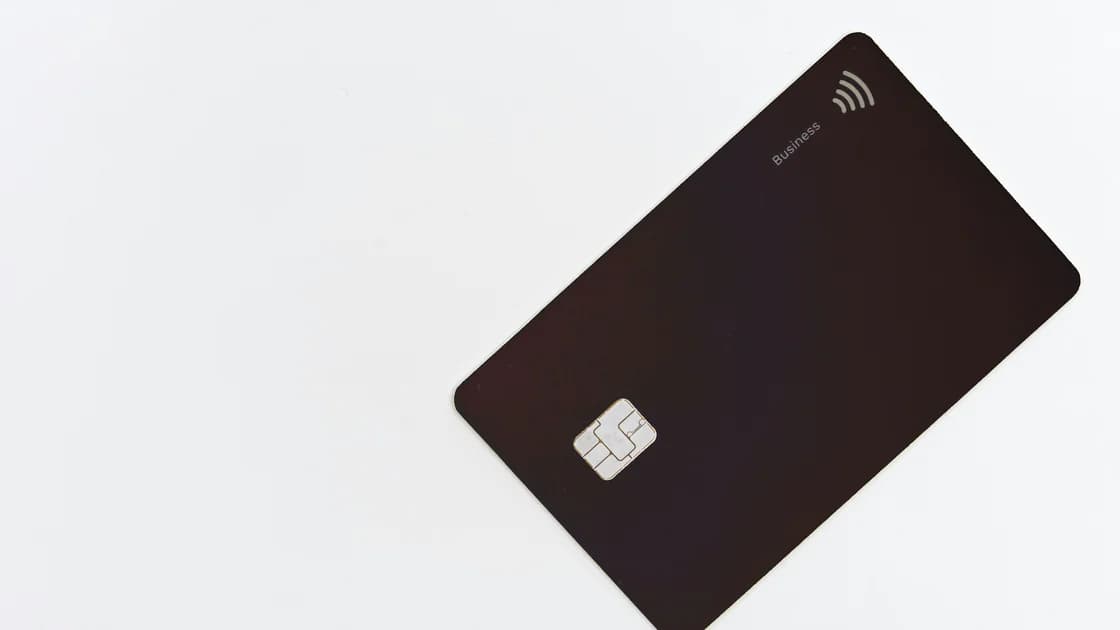
A contactless card contains a payment credential issued by a bank or card provider. You normally present the physical card near a compatible reader. The issuer and terminal may sometimes require a PIN, chip insertion, signature, or another verification step according to risk controls and local rules.[1][2]
A mobile wallet stores or represents a payment credential on a phone, watch, or other supported device. The wallet usually requires a device passcode and may use biometric authentication.
Apple says Apple Pay uses a device-specific account number and a transaction-specific dynamic security code rather than sending the actual card number to the merchant.[3] Google explains that supported tap-to-pay transactions can use a virtual card number and that device security and screen-lock requirements apply.[4] Exact behavior depends on the wallet, country, device, card, and merchant.
The distinction matters after loss. Locking a phone, removing a wallet credential, and reporting the underlying card are separate actions. A physical card can remain active when a phone is disabled, while a wallet token may be suspended without canceling the underlying card. Confirm your issuer's and wallet provider's controls rather than assuming one button covers both.
EMVCo describes payment security as a layered responsibility across payment technologies and participants. Its cybersecurity guidance explains that controls must address the broader payment environment, not just one interface. In practical terms, contactless does not make merchant verification, device protection, or transaction monitoring unnecessary.
Confirm that your cards and wallet work for the transport, lodging, and merchant types you expect to use, and carry a second payment route stored separately.
Complete this preparation while you still have normal access to your home number and bank:
Visa says a contactless card or device only needs to be within 1 to 2 inches of the Contactless Symbol on the terminal to pay, and each transaction carries a one-time code.[2] That convenience is most useful when you have already prepared the controls around it.
Usually, yes. Visa says its contactless cards and payment-enabled phones or wearables can tap to pay outside the U.S. wherever the terminal shows the Contactless Symbol, and that you can insert or swipe the card where tapping is not offered.[2] Acceptance still varies by country, merchant, card, and wallet, so the symbol alone does not guarantee success.
Tapping is only how you present the card; it does not avoid foreign transaction fees or currency-conversion offers, which follow your card terms and the merchant's setup. Check them before departure with the foreign transaction fees guide.
At the checkout, identify the normal point of sale and wait until the merchant has entered the transaction. Read the amount and currency code on the terminal. Confirm the merchant or location when it is shown. A contactless symbol only indicates an interface; it does not verify the business or the requested amount.
Keep the physical card in your hand. For a phone or watch, authenticate only when you are ready to pay. Do not hand an unlocked device to staff or leave it on the counter. If accessibility or terminal placement makes self-tapping difficult, ask the merchant to move or angle the terminal while you retain control of the device.
Watch for these warning signs:
Do not treat appearance alone as proof of safety. A clean terminal can still contain a mistaken amount, and a worn terminal can be legitimate. If the checkout does not feel verifiable, ask for another terminal or use a different merchant and payment method.
Bring the card or authenticated device near the reader once and wait for the terminal response. Keep the screen visible if possible. A successful response may be a visual message, sound, receipt, wallet notification, or a combination; the exact signal differs by system.
If the terminal asks for a PIN or chip insertion, follow the card and issuer flow while shielding the keypad. A fallback request is not automatically suspicious, but repeated unexplained fallbacks or a request to surrender the card are reasons to stop. Do not let a stranger “help” by taking the card or entering information.
If the tap appears to fail, do not immediately repeat it several times. Ask whether the first attempt was approved, declined, or canceled. Check the terminal and wallet or bank notification, understanding that a pending alert is not always a final posted charge. If the status cannot be confirmed, request a cancellation receipt or written note before using another card or cash.
A repeated tap does not normally mean the terminal will intentionally charge twice, but duplicate authorizations, separate transactions, or staff error can still happen. The safe habit is to reconcile the first attempt rather than relying on a general technical promise.
Check the receipt or on-screen confirmation for the amount, currency, merchant, and time. Keep the receipt until the transaction posts when the amount is important, a tip or deposit may change, the first attempt was unclear, or you used a transport system that completes the fare later.
Turn on transaction notifications for both the physical card and wallet-linked card when available. A wallet notification may describe the device interaction, while the bank record determines how the underlying transaction is authorized and posted. Compare pending items with final posted items rather than assuming every temporary authorization is an extra charge.
Use the official bank or wallet app to investigate. Do not tap a link in an unexpected “payment failed” message, and do not call a number supplied by an unsolicited fraud caller. A social-engineering message can arrive immediately after a legitimate purchase and still be unrelated.
If the merchant says a transaction failed but your account shows an authorization, ask for the merchant's cancellation or reversal information and follow the issuer's process. This article does not replace the separate rules and deadlines for disputing a transaction.
Move to a safe place and identify what is missing. If only the physical card is lost, use the issuer's official app or support channel to lock or report that card. Check whether the mobile-wallet version remains available and whether the issuer wants it suspended too.
If the phone or watch is lost, use the platform's official lost-device controls from a trusted device, change the most critical account access where appropriate, and contact the issuer or wallet provider. A remote device lock and a bank-card report solve different problems. If the phone loss affects email, authentication, or a SIM, follow the lost phone abroad recovery guide rather than treating this as only a payment incident.
Review transactions, document the time of loss, and report unfamiliar activity promptly. A temporary lock may be reversible and may not equal formal loss or fraud reporting. Confirm the final card and token status with the issuer.
They have different risks. Contactless can limit the cash you carry and create a transaction record, while a lost card or device can expose a payment credential. Use separation, locks, alerts, and a backup rather than declaring one method universally safer.
Contactless systems include distance, protocol, and transaction controls, but no short slogan covers every card, terminal, or fraud scenario. Focus on issuer alerts, physical control, and prompt reporting. See what RFID blocking does for that narrower question.
Some wallet transactions can work without a live data connection, but setup, token availability, risk checks, transport systems, notifications, and recovery may differ. Confirm the wallet and issuer requirements before travel and keep a backup.
The terminal, issuer, card, local limit, or risk controls may require another verification method. Shield the PIN and stop if the fallback is repeatedly unexplained or the terminal appears altered.
Systems are designed to handle normal tap behavior, but duplicate or separate transactions can still arise from checkout error or repeated attempts. Verify the first status before tapping again and keep evidence.
No. Wait until you can verify the merchant, amount, and currency, then authenticate while keeping the device under your control.
Not necessarily. Wallet tokens and underlying cards are related but distinct. Check the issuer and wallet status, especially after loss or suspected fraud.
Check the amount before paying, verify the result once, and use the issuer’s official controls if the card or device goes missing.
Sources checked 4 October 2026.
This article provides general payment-safety information, not financial or legal advice. Wallet features, card controls, acceptance, verification, and liability depend on the provider, issuer, merchant, device, and jurisdiction.
Sign up to experience all premium features at no cost.
*Available only to new users. Each user is limited to one trial.