Start your 3-day free trial
Sign up to experience all premium features at no cost.
*Available only to new users. Each user is limited to one trial.
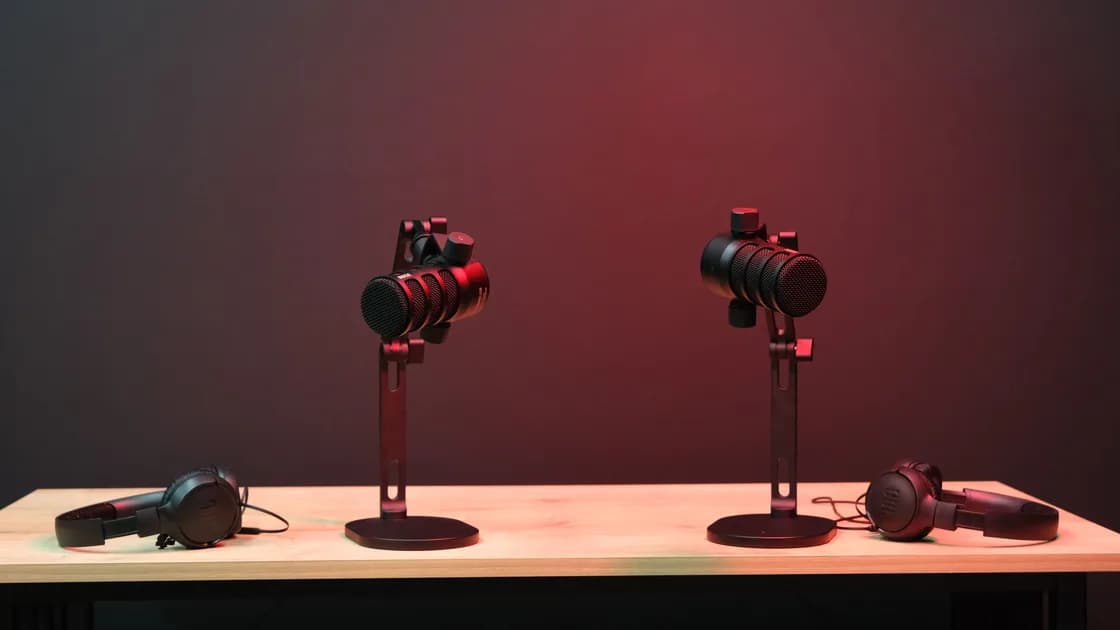

For a microphone not working in one or all apps, first decide whether the computer cannot detect it, the input meter never moves, the wrong microphone is selected, or only one app or website fails. Check the physical mute control, connection, system input, a short local recording, and permissions before raising gain, changing audio formats, or reinstalling drivers. Keep speaker-output problems separate so that each test answers one question.
Key Takeaways
- “Not detected,” “detected but silent,” and “works locally but not in a call” are different faults.
- A hardware mute switch, headset plug, USB interface, Bluetooth mode, or wrong input can create the same symptom.
- Watch the system input meter, then make a local recording before testing a network call.
- Grant microphone access only to the app or site that needs it.
- Use model-specific drivers and format changes late, with a recovery path.
Use the device and app troubleshooting guide if you have not yet established whether the problem follows the microphone, the computer, one app, or one account.
Start with the first point at which the signal disappears.
| What you observe | Likely layer | First useful test |
|---|---|---|
| Microphone is absent from the input list | Connection, power, USB/audio interface, policy, or driver | Reconnect directly and inspect the input list |
| Input is listed but the meter never moves | Mute, wrong connector, wrong input, permission, or hardware | Unmute and speak near the selected microphone |
| Meter moves but recording is silent or distorted | App selection, level, format, or processing | Record locally with default processing |
| Local recording works but calls fail | Call-app input, site permission, session, or network | Select the input inside the call app |
| Bluetooth audio plays but its microphone is unavailable | Bluetooth profile, app selection, or model capability | End other sessions and inspect the input list |
Write down whether the microphone is built in, a headset mic, a USB microphone, an audio interface, a display microphone, or a Bluetooth device. Also record whether the problem affects every user account and whether it began after a call, sleep, update, cable change, or connection to another host.
Microsoft, Apple, Google, and Ubuntu all expose an input selection or permission boundary rather than treating every silent microphone as a driver failure. The menu changes by platform, but a controlled signal path does not.
Look for a physical mute key, inline headset switch, microphone body switch, audio-interface mute button, or laptop privacy key. Some controls show a light, but the light meaning is model-specific. Toggle the control once and retest instead of assuming its state.
For a wired microphone:
A 3.5 mm headset plug and a separate microphone plug are not interchangeable on every computer. TRRS headset wiring, TRS microphone wiring, USB adapters, and audio interfaces have different roles. Do not force a connector or buy an adapter based only on matching diameter.
For Bluetooth, first confirm whether the device actually provides a microphone input on this host. Music playback proves only the output path. Calls may switch the headset into a bidirectional communication mode with different sound quality. End calls and voice-assistant sessions on other remembered hosts before testing.
Select the intended microphone in the operating system’s sound settings. Speak at a normal distance and volume while watching the input meter. Do not start by setting input gain to maximum; excessive gain can add noise and clipping without restoring a missing signal.
The meter creates a useful boundary:
Then record ten seconds in a trusted local recording app. Play it back through a known-good output. This is deliberately separate from a meeting: it removes the network, remote participant, call service, and echo-cancellation path.
If the recording is clear but another participant cannot hear you, do not reinstall the microphone. Check the call app’s selected input, in-app mute, meeting permission, and session. Leave and rejoin after changing the input because some apps bind devices when a call starts.
The operating system must permit an app or browser to use the microphone. A browser then has a separate permission for each website. Windows documents system and app microphone controls, while Chrome exposes site permission and device selection.
Grant access only to the app or site used for the test. A blocked site does not require opening the microphone to every site, and one trusted call app does not justify permanent access for unrelated software. For the wider privacy model, see the app permissions guide.
If the permission control is unavailable or immediately reverts on a work or school computer, it may be managed policy. Record the application, account, device, and time, then contact the administrator rather than bypassing the policy.
Close virtual audio devices, voice changers, streaming tools, recorders, and other meeting apps during the controlled test. They may install additional inputs or hold the physical microphone. Re-enable them one at a time only after the default path works.
Open Settings > System > Sound > Input, select the intended device, and watch its input level. Then check Settings > Privacy & security > Microphone for the required app. Microsoft recommends confirming the selected input and testing it before deeper repair.[1]
If the device disappeared after a known update, use Windows Update or the computer/audio-device manufacturer for the exact model. Do not uninstall every audio device or use a generic driver updater because one microphone is silent.
Open System Settings > Sound > Input, select the microphone, and watch the level meter. Then review Privacy & Security > Microphone for the app. Apple recommends checking input selection, input volume, and permission as separate steps.[2]
Quit and reopen an app after changing permission. If a USB interface has its own mixer, establish a simple unprocessed channel before enabling monitoring, plug-ins, or aggregate devices.
Use the quick settings or system audio controls to select the expected input. For Chrome sites, open the site permission control and confirm both access and device selection. Google’s privacy controls can also disable camera or microphone access at a broader level on supported Chromebooks.[3]
Test a local recording or another trusted site before considering a Chromebook reset. A managed device may expose fewer controls.
Open Settings > Sound > Input, choose the microphone, and watch the level. Ubuntu’s documentation recommends selecting a different microphone from the input list and adjusting its input volume.[4]
If the device is absent, reconnect it directly and install normal supported updates. Avoid replacing the entire audio stack or copying old configuration commands for one missing input until the exact device and session problem are known.
USB microphones and interfaces should be tested directly, without a hub. If the device has selectable inputs or a hardware mixer, choose one simple channel and disable optional loopback during diagnosis. Loopback can route computer playback into an input and make the wrong signal appear healthy.
Bluetooth headsets combine output and input. Activating the microphone may switch the audio profile and reduce playback quality; this is not the same as a failed pairing or network delay. If the headset itself will not connect, use the Bluetooth headphone connection guide. If the issue is delayed sound rather than missing input, use the Bluetooth audio delay guide.
For an analog interface, gain, pad, phantom power, input impedance, and monitoring can matter, but they are model-specific. Start with the manufacturer’s basic connection diagram. Do not enable phantom power for an unknown microphone, and lower monitor volume before changing routing to prevent feedback.
Format changes belong late because a microphone that is not detected, physically muted, or blocked by permission will not be fixed by a sample-rate experiment. If one professional application reports a specific unsupported format, note the current setting, use a documented compatible value, and keep a way to restore the original.
Before reinstalling a driver, cross-test:
If the suspect microphone fails on two hosts while a known-good one works on the original, the microphone, cable, or interface is the stronger lead. If multiple microphones fail only on the original computer, focus on its port, policy, audio service, or supported driver.
Seek service for a loose connector, liquid damage, burning smell, swelling battery, persistent excessive heat, or a microphone/interface that cannot power on. Stop using visibly damaged equipment.
Classify the missing point in the signal path, check physical mute and connection, then select the input and watch the system meter. Make a local recording before testing a call. Review only the needed app and site permissions, then use the short platform branch. Keep format changes, exact-model drivers, and cross-host tests near the end so a speaker, network, or call-app problem does not become an unnecessary microphone overhaul.
It may be physically muted, the wrong input may be selected, its gain may be too low, or permission may be blocked. Watch the system input meter while speaking near the selected microphone.
The call app may use a different input, have its own mute, lack permission, or hold an old session. Select the device inside the app and rejoin the call.
No. Maximum gain can produce noise and clipping. Use a normal speaking distance and raise the level only enough for a stable meter and clear recording.
The host may expose only an output profile, another session may hold the headset, or the app may select another input. Playback alone does not prove the input path.
Yes. Browser site permission is separate from the operating-system permission. Check the current site and selected device without opening access to every site.
No. First prove that multiple inputs fail at the system level. If evidence points to a driver, use the computer or device manufacturer’s exact supported package.
Input gain may be too high, an interface may use the wrong input or pad, processing may clip, or a connector may be incompatible. Return to a simple unprocessed path.
Contact support when the microphone or interface cannot power on, is physically damaged, or fails on two compatible hosts after its documented connection steps.
Sources checked 28 August 2026.
Sign up to experience all premium features at no cost.
*Available only to new users. Each user is limited to one trial.