Start your 3-day free trial
Sign up to experience all premium features at no cost.
*Available only to new users. Each user is limited to one trial.
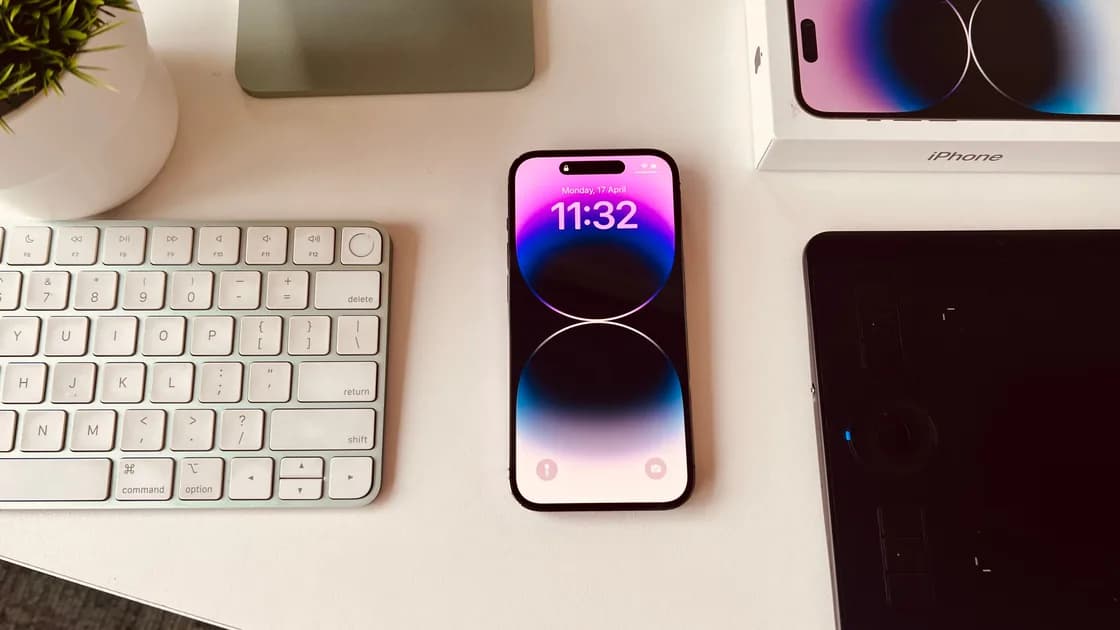

To set up a new iPhone, pick one transfer path (Quick Start, an iCloud or computer backup, or Set Up Without Another Device), then set a passcode, confirm Apple Account recovery, install updates, and test your data before you erase the old phone.[1] A new iPhone setup checklist should take you past the Home Screen to a recoverable account, a verified transfer, and apps you have actually opened.
Key Takeaways
- Keep the old phone charged, connected, and unchanged until the new phone passes a data and account check.
- Choose Quick Start, a backup restore, or a clean setup based on what you can verify, not only what is fastest.
- Confirm the passcode, biometric unlock, account recovery, Find My, updates, and a fresh backup.
- Test photos, messages, passkeys, two-factor authentication, cellular service, and essential apps before handing over the old device.
Use the Device and App Troubleshooting Guide if activation, sign-in, or connectivity fails. It helps isolate the account, device, network, and service layers without turning setup into a sequence of resets.
Put both phones on power and connect the old one to a trusted network. Have your Apple Account password, a trusted phone number, the old device passcode, and any SIM or eSIM transfer information available. Apple notes that setup may ask for a verification code from a previous device and requires Wi-Fi or cellular service for activation.[1]
Check the most recent backup and open several important items on the old phone. A backup time is useful, but it is not proof that every photo library, authenticator, password manager, health record, or app project can be restored. Record any app that keeps data only on the device and export it according to that app's official process.
If the old phone is nearly full, do not begin by deleting data. Follow the safer sequence in the iPhone storage guide, then make and verify another backup before attempting the transfer.
| Method | Best fit | Verification you still need |
|---|---|---|
| Quick Start | The old Apple device is available and working | Compare transferred data, accounts, and security apps |
| iCloud or computer backup | The old device is unavailable or a dated restore point is preferred | Confirm the backup date and what was excluded |
| Set up without another device | You want a clean start or have no usable source | Add accounts and data deliberately, then make a first backup |
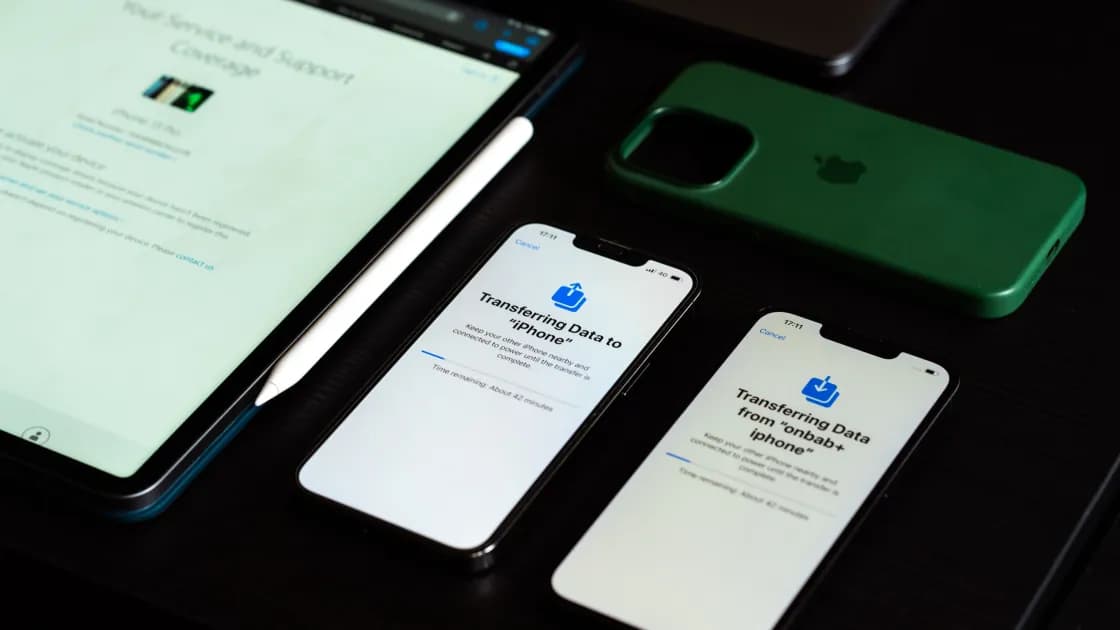
Apple presents Quick Start and manual setup as separate paths, and it also supports restoring from an iCloud backup or a backup made on a computer.[1][2] Pick one path and let it finish. Repeatedly restarting the transfer or switching methods makes it harder to know which copy is current.
Migration progress and background downloads can continue after the Home Screen appears. Keep both phones powered and avoid judging missing apps or photos until the transfer indicates completion and the relevant library has finished syncing.
Finish activation over a trusted Wi-Fi or cellular connection. Confirm the intended phone number, incoming call or message delivery, and mobile data. If an eSIM transfer is pending, use the carrier's supported process rather than deleting the old plan first.
Apple's setup flow offers Face ID or Touch ID and requires a passcode for those features.[1] Use a passcode that is not reused as an account PIN. Biometric unlock is convenient, but the device passcode remains a recovery and authorization boundary.
Confirm the account email or phone number, trusted numbers, and at least one recovery route you can actually access. Do not remove the old trusted device until the new iPhone can receive verification prompts and you have another way back into the account.
After the initial transfer settles, check Software Update and install the current release supported by the phone. Keep the device powered and leave enough free storage. If battery use is temporarily high during indexing or restoration, compare it again after setup finishes before using the iPhone battery guide.
Confirm that the new iPhone appears under the intended Apple Account and that Find My matches your recovery plan. Review location, camera, microphone, contacts, Bluetooth, local-network, and notification access only when an app first needs them. The iPhone privacy settings guide provides a separate permission audit.
Use a written acceptance list instead of browsing a few Home Screen icons:
An installed app icon does not prove its private data transferred. Some apps restore only after sign-in; others intentionally require device re-enrollment. If an app will not download, use the iPhone app download guide rather than erasing the old phone to “start clean.”
Erase or trade in the old phone only after the acceptance list passes, the new backup is complete, and every critical account has a working recovery path independent of the old device. Keep the old phone offline but intact for a short verification window if your security policy and trade-in deadline allow it.
Before handover, follow Apple's official erase and account-removal instructions for that specific situation. Do not manually delete synced photos, contacts, or messages one by one: deletion can propagate to the new phone or cloud library. Erasing the old device is a separate final action, not a troubleshooting step.
Yes. Apple allows setup without another device and restoration from an iCloud or computer backup.[1] You will still need account credentials, a reachable verification method, and a way to confirm what the backup contained.
No. Quick Start uses another Apple device to assist setup, while a backup restore uses a stored recovery point. Both require a post-transfer check because app credentials and some protected data may need separate enrollment.
Follow the carrier and Apple's onscreen sequence. Do not delete an existing eSIM merely to force the transfer; confirm the new line works before removing the old plan.
The Home Screen can appear before app and cloud restoration finishes. Keep the phone on power and a trusted network, then check the transfer or sync status before troubleshooting individual apps.
Some do, but you should never assume all of them did. Test important sign-ins and recovery methods while the old device remains available.
Yes. The passcode protects device data and is required for biometric features.[1] Expect to enter it after certain security events even when biometric unlock is configured.
Only after data, accounts, security credentials, accessories, cellular service, and the new backup have been verified. If one critical item still depends on the old device, the migration is not finished.
Disclaimer: This checklist provides general setup guidance. Available features, menu names, carrier steps, and transfer times vary by iPhone model, iOS version, account, and region.
Sources:
Sources checked 4 October 2026.
Related Articles:
Sign up to experience all premium features at no cost.
*Available only to new users. Each user is limited to one trial.