Start your 3-day free trial
Sign up to experience all premium features at no cost.
*Available only to new users. Each user is limited to one trial.

To set up home internet after moving abroad, confirm service at the exact address first. Test the access line and home Wi-Fi separately.
Key Takeaways:
- City-level marketing cannot replace confirmation for your building, unit, and service address.
- The broadband access line and the Wi-Fi inside your home are separate performance layers.
- Check identity, payment, deposit, contract, equipment, installation, and exit requirements before ordering.
- Keep an installation record and test a wired device before diagnosing Wi-Fi coverage.
- Router settings or a VPN cannot activate an unprovisioned line or repair a provider-side outage.
Compare realistic speed information, data policy, contract and installation conditions, then confirm the landlord and building requirements before ordering. After activation, accept the wired service before judging the home's Wi-Fi. This guide covers the path from a new address to an accepted working connection. It does not repeat the new-router security checklist, diagnose every established connection, or design a continuity plan; use the backup connectivity plan for the latter.
List the tasks the connection must support before comparing advertised plans. Count simultaneous users and devices, but focus on activities: remote meetings, large uploads, cloud backup, streaming, gaming, telehealth, security cameras, or business systems. Record whether upload performance, latency, a public IP, bridge mode, or inbound connections matter.
Separate essential needs from preferences. A household that must sustain two video calls has a different acceptance test from one that mainly browses and streams. If your employer requires a particular remote-access setup, check that policy before choosing equipment or a provider.
Create a short requirements sheet:
| Requirement | Example question | Acceptance evidence |
|---|---|---|
| Availability | Is service orderable for this exact unit? | Provider order confirmation |
| Download and upload | What minimum tasks must run together? | Wired tests and real-task trial |
| Latency and stability | Are calls or interactive sessions critical? | Repeated tests and a live meeting |
| Data policy | Is there a cap, fair-use rule, or throttling? | Contract or provider terms |
| Equipment control | Can you use your own router or bridge mode? | Written provider specification |
| Move-out flexibility | How can you transfer or end service? | Contract and cancellation terms |
Step two: check broadband at the exact address
Search with the complete service address, including apartment or unit number. Ask the provider to confirm the access technology, whether the line or fiber endpoint already exists, and whether an engineer must visit. Ofcom's moving-home advice tells UK residents to check coverage at the new property and arrange service dates before moving.[1] This is a useful process example, but Ofcom is a UK regulator; its checker, switching rules, and consumer rights are not global entitlements.
Treat these as different answers:
A landlord's statement that “the building has fiber” may describe the basement or common area, not a live endpoint in your unit. Ask for the type and location of the wall outlet, optical network terminal, modem, or building communications cabinet. Do not photograph neighbors' account labels or serial numbers.
If a comparison site says service is available but the provider cannot complete an order, rely on the provider's address-level order result. Save the order reference and the exact normalized address the provider used, because spelling, unit formatting, or a newly registered building can affect the lookup.
Ofcom's UK guide recommends checking what is available at the address, choosing the speed needed, comparing deals, and reviewing the connection type, total cost, contract length, and exit conditions.[2] Apply that comparison framework locally, but obtain the actual rights and terms from the provider and regulator in your destination.
Compare these fields side by side:
Do not assume a shorter contract is automatically safer. It may trade flexibility for different equipment, activation, or service conditions. Likewise, an advertised high download speed does not answer whether upload, latency, or evening stability meets your work.
Before placing the order, ask the landlord, property manager, or building office whether an installer may enter common areas, drill, route cable, mount an optical terminal, or use an existing conduit. Obtain written permission when work changes the property. Confirm who must be present and whether the technician needs access to a locked communications room.
Ask the provider what it accepts as proof of identity, service address, residence status, local phone number, and payment method. Do not send more identity data than the official process requires. Use the provider's verified website, shop, or support channel, and keep uploaded documents out of shared chat threads.
Make sure the account name supports future cancellation, support calls, equipment returns, and move-out. If a landlord supplies internet as part of the lease, clarify who owns the account, whether the network is shared, who can reset equipment, and how outages are reported. A working Wi-Fi password is not evidence that you control or can support the underlying service.
Choose an appointment after you can legally access the property and building facilities. Keep a backup connection until the new line has passed acceptance; an installation date is not a service guarantee. Ofcom's switching guide notes that a UK switch can require an engineer visit or new equipment and that the new provider should explain the steps.[3] Again, that process and the associated UK rights should not be generalized to other countries.
Before the visit:
During installation, ask what each device is: an optical network terminal, modem, router, mesh unit, or voice adapter. Record serial numbers assigned to your account without publishing them. Note any temporary cable route, unfinished building work, or follow-up appointment.
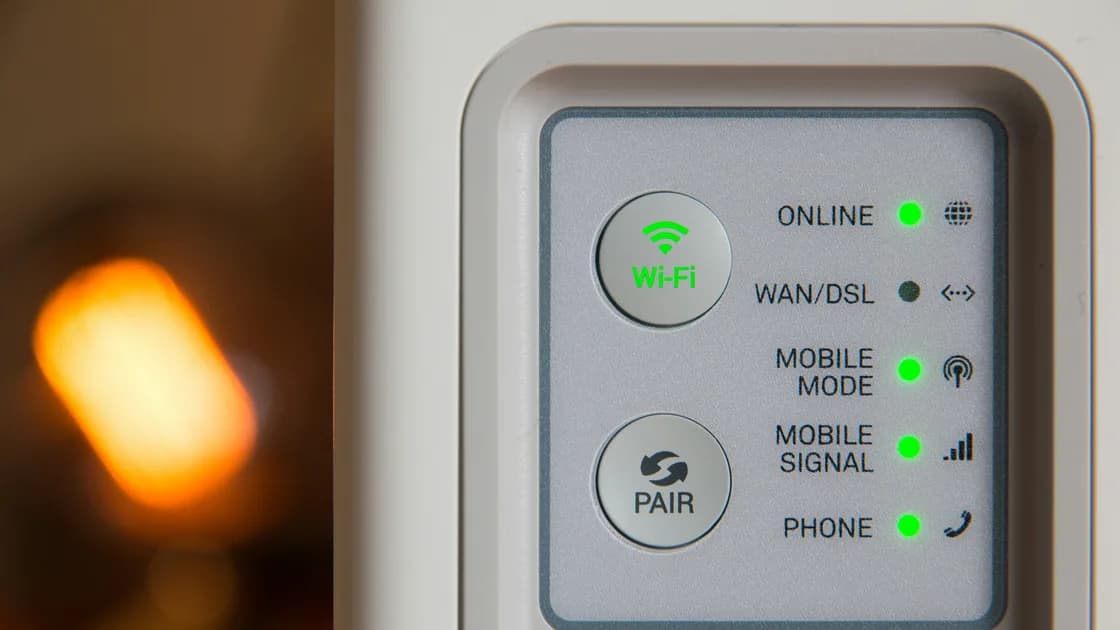
Follow only the provider's official activation process. Confirm that the line, modem or optical terminal, and account are provisioned before changing advanced router settings. Status lights are useful clues, but their meanings vary; use the provider's model-specific documentation.
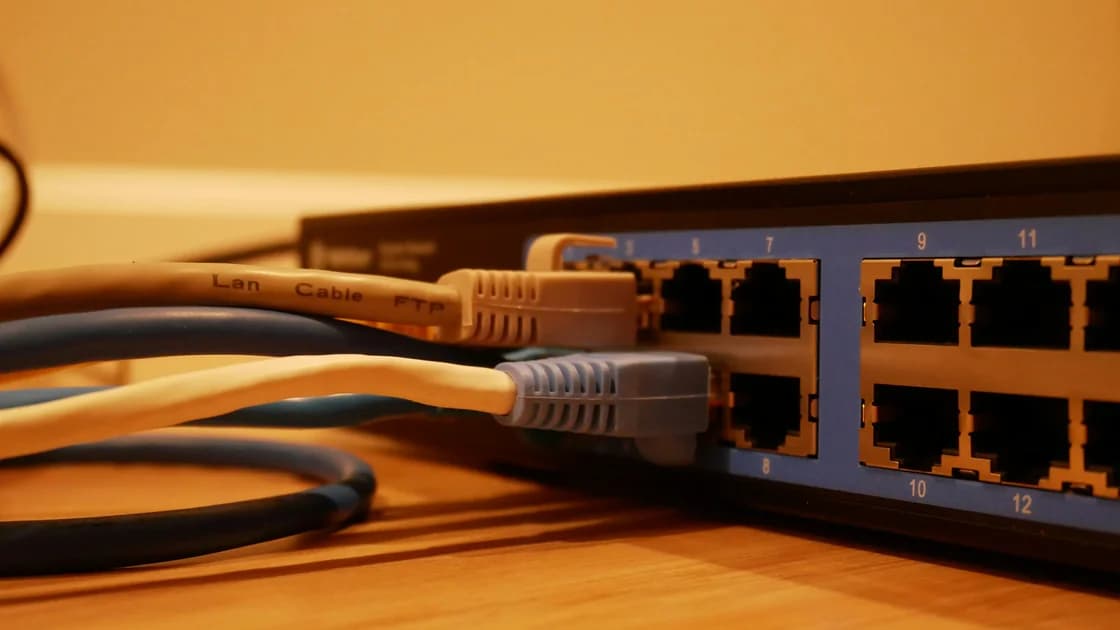
Connect one computer by Ethernet when possible. If the wired device receives no valid connection, the problem may be activation, the access line, provider equipment, or the provider network. Repeatedly changing Wi-Fi names, DNS, or router channels cannot fix a line that has not been activated.
If the provider says activation is complete but wired access fails, document the device states, cable used, time, and error, then contact support. Use the router-connected but no internet guide only after confirming where the failure sits; do not factory-reset provider equipment unless instructed or you understand the account consequences.
Run the first acceptance test by Ethernet near the provider device. Test at several times, and use both a reputable measurement tool and the tasks that matter: a video call, upload, download, or work session. Record whether the result is wired or wireless, because mixing them makes later support difficult.
Then test Wi-Fi room by room on the same device. Weak Wi-Fi in one room can result from distance, walls, interference, router placement, or client capability even when the incoming broadband line works correctly. Conversely, excellent Wi-Fi signal does not prove the provider has internet connectivity.
| Result | Likely layer to investigate first |
|---|---|
| Wired and Wi-Fi both fail | Activation, modem or terminal, provider, or access line |
| Wired works; nearby Wi-Fi fails | Router radio, configuration, or client association |
| Nearby Wi-Fi works; distant room fails | Placement, obstruction, interference, or coverage design |
| Tests work; one app fails | App, account, destination service, or policy |
| Performance drops at particular times | Congestion, traffic policy, provider capacity, or local interference |
After acceptance, apply a minimal router baseline: change administrative credentials if required, use a strong Wi-Fi password and current supported security mode, update supported firmware, disable unnecessary remote administration, and record recovery details securely. The router setup checklist covers that task without turning installation into a second tutorial.
Store the contract, order number, exact service address, account owner, installation date, equipment inventory, return conditions, official support link, and outage reference process. Do not store account passwords or full payment credentials in the sheet.
Set a reminder before the minimum term, renewal, or move-out notice date. If you later switch, check how the old provider email, phone bundle, equipment, and cancellation interact. The Ofcom switching source is a UK example; use the destination's provider and regulator for the rules that actually apply.
Sometimes, but providers may require local identity, payment, phone, or property access. Confirm the exact requirements and schedule the visit only when an authorized person can enter the unit and building facilities.
No. City or street coverage does not prove the building, unit, or internal endpoint is ready. Obtain an address-level order result and ask whether installation or building access is required.
Usually wait until you know the access type and provider policy. Some services require provider equipment, while others allow a customer router or bridge mode. Compatibility and support responsibility matter more than buying early.
That pattern usually points first to the home wireless layer: placement, walls, interference, channel use, or device capability. It does not by itself show a fault in the incoming broadband line.
No. Router settings cannot provision an unactivated line, repair a cut cable, or resolve a provider-side outage. Confirm activation and wired service before tuning Wi-Fi.
After the fixed service is installed, activated, and tested for your essential tasks. Keeping a brief overlap reduces the risk that a missed appointment or provisioning delay leaves you without connectivity.
Keep the contract, notice terms, account owner, equipment list, return instructions, installation alterations, and official cancellation route. Photograph the condition of provider equipment without exposing account labels publicly. AethoVPN comes after the new home's internet service is activated; it cannot book installation, configure the provider's equipment, or prove address eligibility.
Sources checked 28 August 2026.
This article provides general setup information. Availability, contract terms, installation rights, identity requirements, and consumer protections vary by provider and jurisdiction.
Sign up to experience all premium features at no cost.
*Available only to new users. Each user is limited to one trial.