Start your 3-day free trial
Sign up to experience all premium features at no cost.
*Available only to new users. Each user is limited to one trial.
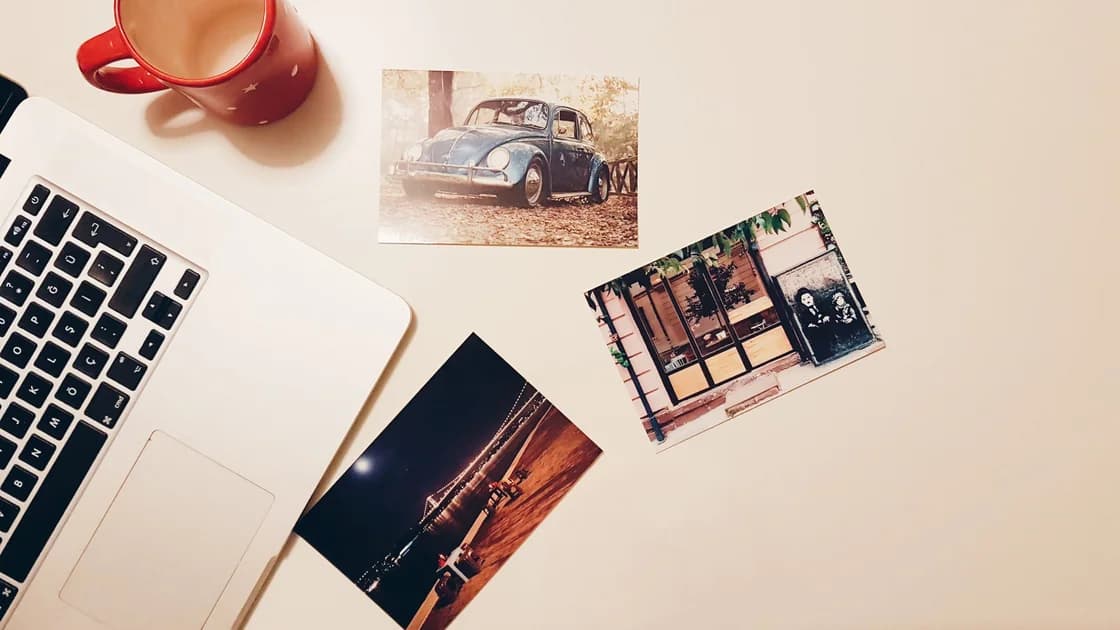

The reliable way to learn how to create AI images from text is to begin with a visual brief, translate that brief into observable prompt details, generate a small set of candidates, and review each result against the same checklist. The first attractive image is only a draft; the useful result is the one that fits its intended use, respects your rights boundary, and survives a deliberate visual review.
If you are new to structured AI tasks, start with the broader beginner’s AI workflow. This guide applies that define-generate-check loop to images, where composition, text, hands, reflections, identity, and provenance all need more attention than a fluent chat answer.
Key Takeaways
- Define the destination, audience, rights boundary, and required dimensions before writing a prompt.
- Describe visible facts instead of relying on vague quality words such as “professional” or “beautiful.”
- Generate a small candidate set and change one prompt variable at a time.
- Inspect structure, text, faces, hands, reflections, logos, and context before selecting a result.
- Keep the prompt, settings, rejection reasons, source inputs, and final decision together.
Use a controlled loop: brief, prompt, candidates, review, revision, and record. Current image tools can create a new image from a description, accept aspect-ratio guidance, and in some cases edit an existing result. Their controls and availability change, so treat the official interface as the current operational source rather than memorizing a model name or button sequence.[1]
The method matters more than the platform. A prompt that works because you described the subject, setting, composition, and constraints can be adapted. A result that works only because you repeatedly pressed regenerate cannot be explained, reproduced, or handed to another reviewer.
Write one sentence that says where the image will appear and what a viewer should understand. “A wide blog header that communicates careful photo review without showing a product interface” is testable. “A cool AI image” is not.
Record these constraints before opening a generator:
| Decision | Example | Why it matters |
|---|---|---|
| Destination | Blog header | Determines crop and detail density |
| Audience | Curious non-designers | Controls visual complexity and jargon |
| Message | Compare candidates before choosing | Gives the scene a clear action |
| Format | Wide 16:9 composition | Prevents late destructive cropping |
| Must keep | Empty center-left space | Protects layout and mobile readability |
| Must avoid | Logos, account data, fake UI | Sets a review and rights boundary |
Decide whether a generated image is appropriate at all. A real product tutorial needs a real interface capture. A news report needs truthful documentary material. A diagram that must preserve exact geometry may be better built with deterministic vector tools. Use generation when a synthetic illustration, concept scene, texture, or clearly labeled creative visual is honest for the destination.
Use these seven steps to keep the generation process reviewable from the first input through the final decision record.
Text-only prompting can still introduce rights and identity risks. Your prompt may name a living person, a protected character, a brand, a photographer, or a distinctive work. A reference image may contain someone who did not consent to reuse, or material your organization cannot upload to an external service.
Before generating, ask:
Do not upload identity documents, private family photos, client work, unreleased campaigns, medical images, or internal screenshots merely to improve a prompt. Use a neutral fixture or a licensed reference that conveys the same composition. The AI privacy risk guide provides a broader data-minimization checklist.
The U.S. Copyright Office treats digital replicas, the copyrightability of AI-generated material, and the use of copyrighted works in AI training as distinct questions. Use its materials as a U.S.-specific orientation, not as a substitute for case-specific legal advice.[4]
A useful first prompt describes what should be visible. Build it from five parts: subject, action, environment, visual treatment, and composition. Add constraints only when they protect the brief.
For example:
A clean editorial photograph of three printed image proofs on a wooden studio table, one proof marked with removable paper tabs, soft side daylight, realistic paper texture, overhead three-quarter view, wide composition with empty space on the left, no people, no logos, no readable private information.
This prompt does not promise a masterpiece. It gives you observable review points: three proofs, paper tabs, a table, side light, texture, viewing angle, wide space, and exclusions. If the output has five proofs or places the empty area on the right, you can identify the mismatch.
For a deeper prompt-building method, use the AI image prompt anatomy guide. Keep the first attempt simple enough that you can tell which instruction influenced the result.
“Minimal but highly detailed,” “documentary but dreamlike,” and “bright nighttime scene” may be possible artistic tensions, but they are poor defaults for a beginner workflow. Choose the dominant intent. If you need a realistic editorial photograph, remove instructions that ask for illustration, surreal geometry, or impossible lighting.
Do not paste a long list of fashionable prompt fragments. More adjectives can reduce control when they point in different directions. Add a term only when you know which visible property it should change.
Set the aspect ratio and intended crop before producing candidates. OpenAI’s current help documentation describes an aspect-ratio control and also allows the desired ratio to be included in the prompt.[1] Other tools expose different controls, so verify the current official instructions for the platform you use.
Adobe’s current text-to-image instructions likewise treat aspect ratio, content type, and visual effects as choices that shape a generation, but the exact control names are platform-specific.[3] Record the choices you actually used instead of assuming the same setting exists everywhere.
Think about the final layout, not just the generated canvas. A wide blog image may later appear as a narrower card or mobile crop. Keep the main subject away from fragile edges, preserve breathing room, and avoid tiny critical details that disappear at thumbnail size.
If exact dimensions are unavailable, generate at the closest supported ratio and plan an equal-scale crop. Do not stretch the width and height independently. If the candidate cannot survive the real crop, reject it rather than repairing the composition with distortion.
This is an official Adobe support-page screenshot of Firefly’s English-language list view. It shows real interface controls, but it is not our local account, submitted prompt, generated result, or evidence that the interface is identical in every region.
Generate enough variation to compare, but not so many that review becomes random. Three or four candidates from one prompt is a practical first set. Label them A, B, C, and D immediately.
Do not select while the images are still arriving. Review the set side by side after all candidates are available. A dramatic first image can anchor your judgment and make a quieter but more accurate composition seem weaker than it is.
Create a candidate register:
| Candidate | Brief match | Structural issues | Rights or brand risk | Crop safety | Decision |
|---|---|---|---|---|---|
| A | Strong subject, wrong empty area | Extra paper sheet | None visible | Weak on mobile | Reject |
| B | Correct composition | One distorted tab | None visible | Good | Revise |
| C | Wrong scene | Repeated object | Possible logo shape | Good | Reject |
| D | Correct scene and light | No obvious issue | None visible | Good | Shortlist |
The rejection reason is valuable. It tells you whether the next prompt should change composition, object count, lighting, or a constraint. Without it, “try again” produces more images but less knowledge.
Inspect the full image first, then zoom into high-risk areas. At full size, check message, hierarchy, balance, lighting, and crop. At high zoom, inspect edges, object connections, text, reflections, repeated patterns, hands, faces, jewelry, cables, screens, and logos.
Use the same questions for every candidate:
Do not hide a structural failure with compression, blur, or a tighter crop. Those techniques can reduce visibility without fixing the underlying problem. If the main subject is malformed or the scene makes a false claim, reject the candidate.
Choose the strongest candidate and identify its single most important mismatch. Change only the instruction that controls that property. Keep the rest of the prompt and the output format stable.
Examples:
After each round, log the change and compare it with the previous candidate. If you change lighting, camera angle, object count, color palette, and medium together, you cannot tell which edit improved the result.
Stop after repeated rounds produce the same defect without new information. The tool may be a poor match for the required geometry or text. Switch to a deterministic diagram, licensed photography, manual design, or a different workflow rather than lowering the acceptance standard.
Keep more than the downloaded image. Save the brief, prompt, platform, generation date, aspect ratio, reference-image source, candidate labels, rejection reasons, selected result, allowed edits, reviewer, and intended destination.
C2PA Content Credentials can carry signed assertions about an asset’s origin and edit history, but provenance information is not a declaration that the depicted event is true.[2] Preserve available credentials, but keep your editorial review and source record as separate evidence.
A compact record can look like this:
| Field | Record |
|---|---|
| Brief | Wide editorial visual about candidate review |
| Input rights | Text only; no private or third-party reference |
| Prompt | Stored verbatim with generation date |
| Candidate decision | D selected; A–C rejection reasons retained |
| Edits | Equal-scale crop and export only |
| Reviewer | Named human owner |
| Disclosure | Applied according to destination policy |
If you later edit the image, append the edit rather than rewriting the original record. A chain of decisions is more useful than a polished file with no history.
Reject it when the central subject is structurally wrong, a person’s identity or consent is unclear, a logo or protected asset creates unresolved risk, the scene could mislead viewers about a real event, or the image cannot survive its final crop. Also reject it when you cannot explain why it was selected over the alternatives.
An image can be visually impressive and still fail the assignment. Selection is an editorial decision against the brief, not a beauty contest. If every candidate fails a required condition, revise the brief or choose another production method.
Start with one clear subject, one environment, one visual treatment, and one composition. Generate a small set, compare it with a written brief, and revise only the largest mismatch.
Not automatically. A longer prompt helps only when the added words describe compatible, visible properties. Conflicting adjectives and copied “magic words” can make the result harder to control.
Three or four is enough for a first comparison. Label them and record rejection reasons before creating another set, so additional generations respond to evidence rather than impulse.
Only when you have permission to upload and reuse it under the platform and destination rules. Record its source and allowed use, and do not assume a generator transfers ownership or consent to you.
Zoom in and transcribe it manually. If exact wording matters, verify every character or add the text later with a deterministic design tool instead of relying on generation.
Follow the publication platform, jurisdiction, client, and organizational policy that applies to the destination. Keep a provenance record even when a public disclosure is not required.
No. Provenance can help describe origin and changes, but truthfulness still depends on the depicted claim, underlying evidence, and editorial review.
Disclaimer: This article provides general creative-workflow information, not legal advice. Confirm rights, consent, platform terms, and disclosure requirements for your specific use.
Sources:
Sources checked 24 August 2026.
Related Articles:
Sign up to experience all premium features at no cost.
*Available only to new users. Each user is limited to one trial.