Start your 3-day free trial
Sign up to experience all premium features at no cost.
*Available only to new users. Each user is limited to one trial.
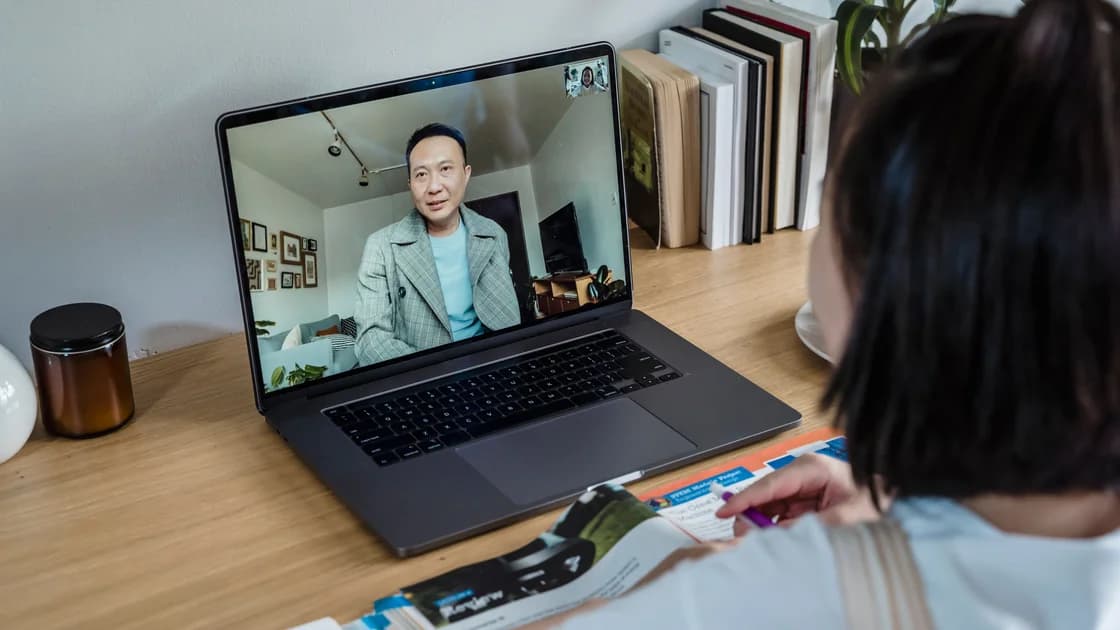

If your webcam image is blurry or grainy even though the camera is detected and producing a picture, first compare its local preview with the image seen in a call. Clean the lens, put soft light in front of you, return to the camera's supported resolution, remove digital effects, and test at the intended working distance. A sharp local preview that degrades only in a meeting usually points to the calling app, upload path, or compression rather than the lens.
Key Takeaways
- Use a local camera preview before changing meeting or network settings.
- Blur usually points to the lens, focus, distance, motion, or digital crop.
- Grain usually becomes worse when the room is dark and the camera raises electronic gain.
- Resolution labels do not guarantee detail after crop, effects, or call compression.
- Change one variable at a time and keep an untouched comparison sample.
The device and app troubleshooting guide explains the broader isolation method. This article begins only after the webcam already appears and shows a live image. If the camera is missing, blocked, black, or unavailable to the app, use the webcam-not-working guide instead.
Open the operating system's built-in camera app or the webcam maker's supported preview utility. Place the computer where it is normally used, choose the intended camera, and record a short sample without joining a meeting. Compare that sample with a recording or screenshot from the calling app under the same light and at the same distance. Do not compare a bright daytime preview with a dark evening call.
Describe the defect precisely. Soft edges at every distance suggest a dirty cover, damaged optics, a protective film, or a low-detail mode. A face that becomes sharp only at one distance suggests a focus or working-distance issue. Moving hands that smear while a still background looks acceptable suggest a long exposure in low light. Colored speckles and crawling texture in shadows are typical signs of high sensor gain. Blocky faces, sudden detail loss, or quality that changes with other network traffic point more strongly to compression.
Microsoft recommends testing the camera in another app and notes that poor resolution, a dirty or damaged lens, and network conditions during video calls can reduce quality.[1] That comparison is the most useful first branch: if the local sample is already poor, stay with the physical camera and capture settings; if the local sample is clean, preserve it as evidence and move to the meeting path.
Check that the local preview has not silently selected a lower-quality virtual camera, continuity feature, capture card, or secondary built-in lens. Record the exact camera name, resolution if shown, app, time, and lighting. Avoid installing an unknown “camera enhancer” because it adds another processing layer before the fault is understood.
Shut down or close the camera app, then inspect the lens cover in bright side light. Remove any shipping film, privacy sticker residue, fingerprint, dust, condensation, or case edge that crosses the optical opening. Use only the cleaning method approved for the device. A clean, dry microfiber cloth on the exterior cover is normally safer than liquid, abrasive paper, or compressed air. Do not push cleaner into a laptop bezel or webcam housing.
Look for scratches, cracks, haze under the cover, or a lens that has shifted after a drop. Exterior cleaning cannot repair internal condensation or damaged optics. If the image has a permanent bright halo, fogged region, or one-sided softness that remains in every app and light level, document it and seek the device maker's service guidance.
Many built-in laptop cameras and inexpensive webcams use fixed focus. They are designed for a range of ordinary desk distances and cannot refocus on an object held a few centimeters from the lens. Move a document or product farther away rather than assuming the camera is defective. For an autofocus camera, give it a clear, contrast-rich subject, hold still briefly, and remove any app effect that locks focus on a background or synthetic scene.
Test three controlled distances while leaving light and settings unchanged: normal seated distance, slightly farther away, and the distance recommended by the maker. If one range is consistently sharp, keep the camera there and adjust framing physically. Digital zoom enlarges existing pixels; it does not create optical detail. Mount the camera firmly so typing does not shake it, and clean any separate protective glass in front of an external camera.
Face a window or place a broad, diffused lamp behind the camera and aimed toward you. Avoid a bright window directly behind your head, a small bare lamp in the frame, and mixed flickering lights. Apple recommends cleaning the camera, using light from the front, and checking app or Wi-Fi conditions when Mac camera quality is poor.[2] Front light lets the camera use less electronic gain and a shorter exposure, which usually reduces noise and motion smear.
Make one lighting change, then capture another local sample. Keep the camera position and resolution fixed. If grain falls sharply and moving hands become clearer, the camera was compensating for insufficient light. More room brightness is not always better: a bright background can force the face into shadow. Move the light closer, diffuse it, or reduce the background brightness so the face is evenly exposed without glare.
Avoid judging quality from a tiny mirrored thumbnail. View a saved frame at its normal display size and at 100 percent only for diagnosis. Enlarging a low-resolution preview far beyond its intended size makes normal pixel structure look like a defect. Also disable background blur, portrait relighting, low-light enhancement, beauty filters, automatic framing, and virtual backgrounds for one test. Those effects may soften hair, glasses, text, and moving edges even when the optical image is sound.
Some LED lamps flicker at a frequency the camera records as bands or pulsing exposure. If brightness rolls across the image, test another lamp or the camera's supported anti-flicker setting for the local power frequency. Do not change several exposure controls at once. Return automatic exposure to its default before comparing, because a manually forced high gain can create grain in an otherwise adequate room.
Select the camera's documented native or recommended mode in its supported app. A “1080p” label can describe the output frame while the useful face detail is lower because the app cropped a wider sensor image, applied digital stabilization, or enlarged a small region. Automatic framing and digital zoom are common reasons a face looks softer without any physical lens problem.
Compare one sample with all optional effects off. Reset sharpness, exposure, gain, and zoom to documented defaults rather than maximizing them. Excess electronic sharpness creates bright outlines and emphasizes noise; excessive noise reduction smears skin and hair. If the image is sharp before an effect is enabled, the effect—not the webcam—is the relevant layer.
In the meeting app, choose the highest supported send quality only when the computer and connection can sustain it. Confirm that a battery-saving, data-saving, browser permission, or organization policy is not selecting a reduced mode, but do not bypass a managed policy. Google Meet's guidance separates device, browser, bandwidth, CPU load, and network causes when meeting quality is poor.[3] Close an unnecessary virtual camera or capture pipeline, and compare the desktop app with its supported browser only as a controlled test.
Resolution is only one part of clarity. A low-bitrate 1080p call can look worse than a stable lower-resolution stream. High frame rate, background effects, and multiple video tiles also use processing and bandwidth. Watch whether quality changes when the gallery view, screen sharing, or another upload begins. Record the change instead of assuming that the webcam suddenly lost focus.
Use the clean local recording as the baseline. Join a test meeting alone, then add one participant or use the app's supported test-call feature. Compare the self-preview, any local recording, and what the remote participant receives. The mirrored self-preview may be intentionally small or low quality, so remote appearance is the more relevant result.
Connect directly to a stable network path for one comparison, pause large uploads and cloud synchronization, and close heavy effects or encoding applications. If possible, test the same camera and light in a second supported calling app. A problem limited to one app suggests its selected camera, send resolution, effects, hardware acceleration, account policy, or service condition. A problem across calling apps but absent locally suggests the shared encoding or upload path.
Do not promise that a speed-test headline guarantees video quality. Calls also depend on sustained upstream capacity, latency, loss, jitter, computer load, and the service's adaptive compression. Record the time, app, participant count, whether screen sharing was active, CPU pressure if available, and whether another local device was uploading. These observations are more useful than repeatedly switching random camera settings.
If a wired connection or another known-good network makes the remote image consistently clearer while the local sample remains identical, investigate the original network path. If every network produces the same app-only degradation, check the app's official status and support information. Do not disable security controls or install unofficial codecs merely to make a call look sharper.
Return the camera to a simple baseline: clean lens, supported default mode, no digital zoom, no optional effects, soft front light, stable mount, and normal working distance. Capture a local still and a ten-second motion sample. Then make one test call without screen sharing or other uploads. Label the files with the camera, app, resolution, light, and time.
If the local image remains poor, test the webcam on another compatible computer or test a known-good webcam on the original computer. Keep the same scene and light. A defect that follows the webcam indicates its lens, sensor, cable, firmware, or internal processing. A defect that stays with the computer indicates a setting, USB path, driver, virtual camera, or processing issue. Use only the operating system, computer maker, or webcam maker's supported updates.
For a USB webcam, connect it directly for one test and avoid an unpowered hub, capture adapter, or excessively long extension. A marginal USB path more often causes freezes or disconnects than gentle blur, but a fallback mode can also reduce resolution. Record the exact mode offered before and after removing the intermediary.
Stop and seek service if the cover is cracked, the image remains hazy after safe exterior cleaning, focus never reaches the documented range, condensation is internal, or the camera was dropped or exposed to liquid. Provide the controlled samples and exact model. Do not disassemble a laptop display or webcam unless the manufacturer explicitly supports that repair.
In low light, a webcam usually increases electronic gain and lengthens exposure. That makes shadow noise and motion smear more visible. Add broad front light and compare again before changing drivers or replacing the camera.
The camera may be focused beyond your seating position, an autofocus effect may have chosen the background, or a fixed-focus camera may be outside its designed distance. Disable effects and move through a few controlled distances.
Yes. Fingerprints, skin oil, dust, adhesive residue, and a protective film can scatter light and soften the entire frame. Clean only the exterior cover with a maker-approved method.
Digital zoom crops and enlarges existing pixels. It cannot add optical detail, and it can magnify noise or compression. Move the camera or change the physical framing instead when practical.
The meeting app may lower send resolution or bitrate because of upload conditions, processor load, effects, policy, or service adaptation. Preserve the clear local sample and test the call path separately.
No. Excess sharpness can create halos and make sensor noise more obvious, while aggressive noise reduction can smear detail. Start from supported defaults and change one control at a time.
It can introduce power, bandwidth, or mode-negotiation limits, especially when several devices share the hub. Compare one direct connection and record whether the offered resolution changes.
Seek service when safe cleaning, lighting, distance, default settings, and a cross-test do not restore the documented quality, or when there is cracked glass, internal haze, liquid exposure, impact damage, or focus that never settles.
Sources checked 8 September 2026.
Sign up to experience all premium features at no cost.
*Available only to new users. Each user is limited to one trial.