Start your 3-day free trial
Sign up to experience all premium features at no cost.
*Available only to new users. Each user is limited to one trial.
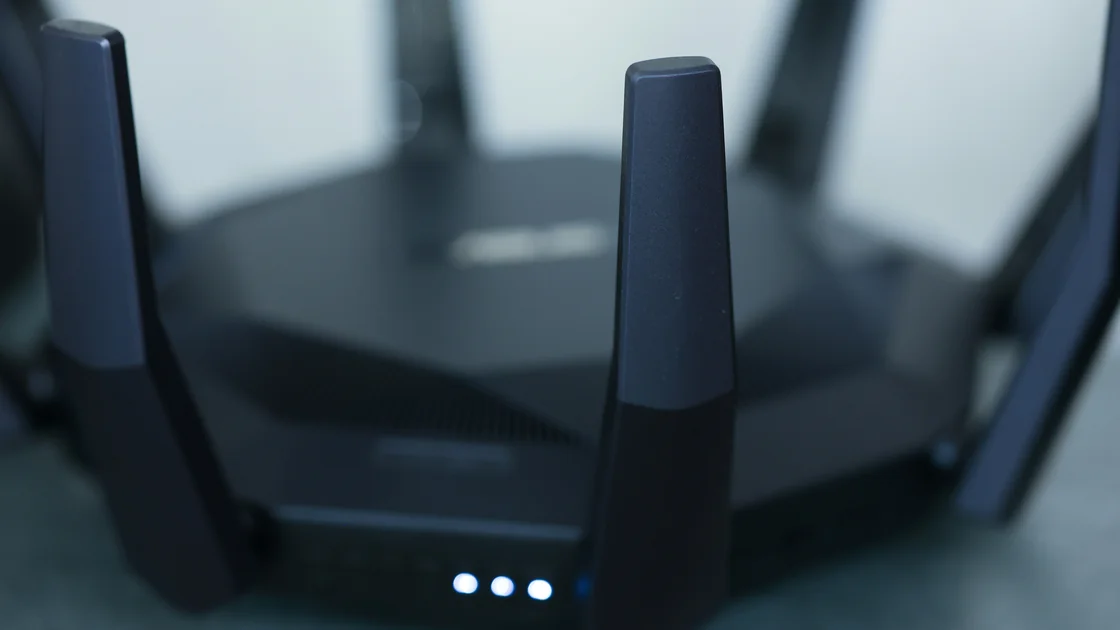

An OpenWrt WireGuard client needs a peer, a route, firewall permission and a working return path before a LAN device can use it. Start with one authorized destination and one test device, then verify DNS and IPv6 separately before expanding coverage.
Key Takeaways
- A recent handshake proves peer communication, not LAN forwarding.
- AllowedIPs, installed routes, firewall rules and DNS have different jobs.
- Keep wired management available independently of the tunnel.
- Default-route changes can affect other devices and the router itself.
- This example provides no automatic protection against WAN fallback.
Use this guide on OpenWrt 25.12 stable with fw4/nftables and a supported device with sufficient storage. That series uses apk; do not combine its instructions with older opkg packages or a snapshot kernel. Check your device's firmware support before installing anything.[1]
This guide follows the listed official documentation and implementation; it has not undergone a complete end-to-end hardware test. The checks below describe what you should observe, rather than measured results. Work only on networks and endpoints you own or may administer.
The plan for who runs a self-hosted network helps define who manages keys and recovery. Compare whole-device and application-only coverage if your actual need is ordinary browsing rather than control of a router. A terminal connection does not automatically cover other LAN devices.
Connect a management computer by cable and open a fresh LuCI or SSH session through the existing LAN address. Record its address, subnet, gateway and DNS. Keep this computer outside the traffic-changing exercise and confirm the device-specific recovery procedure. Use the firmware preparation checklist before changing firmware; a package install is not a firmware upgrade.
In LuCI's backup page, download an archive and store it privately off the router. It can contain passwords and private keys. Also record which network and firewall sections you will add; restoring a full backup later would overwrite unrelated changes made after that backup.
Obtain your own endpoint hostname, UDP port, server public key, optional preshared key and assigned tunnel address. Confirm that the server permits this client's identity and the intended forwarding or private service. Do not paste private material into an online configuration converter or a public diagnostic report.
The examples use test client 192.168.8.10, LAN 192.168.8.0/24, tunnel client 10.77.0.2/32 and authorized tunnel destination 10.77.0.1. Replace these if your networks differ or overlap. Names beginning sh25_ and interface wg_test must be unused; stop if they already belong to another configuration.
From the router's configured, trusted 25.12 repository, install the protocol and LuCI support. Stop on dependency or kernel-version errors; do not force installation or download a different release's kernel module.[2]
apk update
apk add wireguard-tools luci-proto-wireguard
In Network → Interfaces, add wg_test using the WireGuard VPN protocol. Enter the client private key and assigned address locally. Add one peer using the server public key, endpoint and port. Keep all other interface definitions intact.
The following is a configuration fragment, not a replacement for /etc/config/network. Replace the uppercase placeholders securely; optional preshared keys belong only on configurations that require them.[3]
config interface 'wg_test'
        option proto 'wireguard'
        option private_key 'CLIENT_PRIVATE_KEY'
        list addresses '10.77.0.2/32'

config wireguard_wg_test 'sh25_peer'
        option public_key 'SERVER_PUBLIC_KEY'
        option endpoint_host 'AUTHORIZED_ENDPOINT_HOST'
        option endpoint_port 'AUTHORIZED_UDP_PORT'
        list allowed_ips '10.77.0.0/24'
        option route_allowed_ips '1'
Use LuCI's reviewed Save & Apply and reconnect to the unchanged management address. If access fails, allow its pending rollback to complete instead of repeatedly accepting changes. Bringing up this interface must not require opening router administration on WAN.
AllowedIPs identifies the destinations associated with a peer and constrains accepted tunnel source addresses. It does not itself grant firewall permission. OpenWrt's peer route_allowed_ips additionally requests system routes; its implementation defaults that option to 0. Our limited example explicitly sets it to 1.[3]
| Layer | Value to inspect | What it establishes |
|---|---|---|
| Interface | wg_test, assigned address | Local tunnel interface exists |
| Peer | Endpoint, public key, AllowedIPs | Intended peer and permitted address set |
| Routing | 10.77.0.0/24 via tunnel | Destination selects that interface |
| Firewall | Test source allowed toward tunnel | Forwarding permission for the client |
| Return path | Server route or permitted translation | Replies can reach the original request |
| DNS | Actual resolver and its route | Where name resolution leaves the network |
Read the AllowedIPs and routing distinction before expanding the address set. For IPv4 internet coverage, replacing the limited prefix with 0.0.0.0/0 and enabling automatic routes changes a default path, potentially for all LAN clients and router-originated traffic. Do this only in an isolated test LAN or an approved maintenance window with a working WAN endpoint route.
Netifd normally tracks endpoint reachability when nohostroute is not enabled. Inspect the actual route to the resolved endpoint and confirm it remains outside its own tunnel; hostname resolution must work before the tunnel starts. A default route alone is not a kill switch. For two devices needing different paths, use the per-device policy procedure instead of applying a global default-route example.[3]
Create a separate firewall zone named sh25_wg containing wg_test, with input REJECT, output ACCEPT and forward REJECT. Allow the test source 192.168.8.10 from its actual LAN zone to sh25_wg with an IPv4 traffic rule. Use a descriptive rule name such as sh25_client_forward; do not create WAN-to-LAN or WAN-to-router management permission.[4]
For this limited private-destination test, either the server has an authorized route back to your LAN and corresponding peer AllowedIPs, or you enable IPv4 masquerading on the dedicated tunnel zone. Choose and record one method with the server owner. Translation simplifies return routing but hides the individual LAN source from the remote service; it does not create access authorization.
Leave existing WAN and management rules intact. Check the proposed firewall configuration before applying it, then inspect its generated nftables rules. A correct configuration still needs a real forwarded request from the test device. Avoid global firewall resets: they remove permissions and protections belonging to other services.
Start with the test device's current resolver and record it. A query sent to the router is handled locally, and the router's upstream query is a separate flow; its source is not the original LAN device. Adding a DNS address to a configuration file does not prove which interface carries queries.[4]
If you intend to use a resolver reachable through the tunnel, configure it deliberately in the applicable client or router DNS settings, check its route, and test resolution of a fresh name you control. Compare the client resolver, router upstream choice and application behavior. Browser encrypted DNS may use another endpoint. Do not advertise an unreachable resolver to the entire LAN.
IPv4-only routing leaves an active IPv6 default path separate. Add ::/0 only when the endpoint provides authorized IPv6 forwarding, the client has valid addressing, the server accepts the required sources, and the firewall and return route are designed for IPv6. IPv4 masquerading does not solve IPv6 return routing. Otherwise stop short of claiming whole-device coverage; do not disable IPv6 on a shared network to manufacture a passing result.
On the router, these commands inspect state without displaying private keys. Keep public identities and endpoint details out of shared reports unless needed and authorized.[3]
ifstatus wg_test
wg show wg_test latest-handshakes
wg show wg_test transfer
ip -4 route show
ip -6 route show
nft list ruleset
| Check method | Expected observation | If it fails |
|---|---|---|
Request an authorized service at 10.77.0.1 from the test device | Request succeeds and relevant tunnel counters increase | Separate peer, route, forwarding and return-path failures |
| Repeat from the router | Router result is recorded separately | Do not infer LAN success from it |
| Check a fresh DNS query and selected resolver | Resolution uses the planned resolver and path | Restore the changed DNS settings and examine upstream routing |
| For an approved full-exit branch, check both address families | Visible exits match the separately defined IPv4/IPv6 policy | Treat missing or bypassing IPv6 as an unresolved branch |
Bring down only wg_test, then create a new connection | Private destination fails; public fallback follows ordinary routes | Do not claim fail-closed behavior; retain wired access |
| Restore the interface and reboot only the authorized test router | Saved settings return and all checks remain consistent | Recover locally and compare persistent configuration |
For the public-exit branch, use the test device to check the visible internet exit. An IP check does not establish DNS routing, every application's path or inbound protection. Use new connections after each change; existing sessions and cached DNS can conceal a changed route.
To undo this exercise, first restore any changed client gateway and DNS. Reconnect through wired management, bring down wg_test, remove only sh25_peer, wg_test, the sh25_client_forward rule and sh25_wg zone, plus routes or DNS entries created for this exercise. Apply through the existing configuration owner. Recheck LAN access, original WAN route and DNS, and an unaffected device. Remove packages only if you installed them solely here and nothing else depends on them.
If management is unavailable, use the device's documented local recovery process and your private backup. Do not factory-reset a shared router as the first troubleshooting step. Recovery is complete only when fresh requests follow the original path, rather than merely when LuCI opens.
No. It confirms communication between peers, while each LAN request still depends on routing, firewall permission and a return path. Test from the device that needs coverage.
0.0.0.0/0 in AllowedIPs immediately?Start with the authorized private prefix. A default prefix combined with automatic routes may move other clients and router requests, so expand only after reviewing its network-wide effect.
No WAN administration rule is required for this outbound client procedure. Keep LuCI and SSH on their existing restricted management path instead of exposing them to solve a connection failure.
Router-originated requests use output processing; laptop requests require forwarding and a valid return route. Inspect the laptop's source address and the dedicated tunnel-zone permission first.
Do not assume it will. Inspect the device's resolver and the router's upstream resolution separately, including encrypted DNS used by applications, before describing DNS coverage.
This configuration does not promise that. Existing WAN routes and permissions may carry new public requests after the tunnel stops; define and test a separate failure policy when blocking is required.
A whole-router restore can overwrite changes made since the archive. Prefer removal of this exercise's named sections; use the full backup through local recovery only with a clear, authorized restoration scope.
Sources:
Sources checked 11 October 2026.
Related Articles:
Sign up to experience all premium features at no cost.
*Available only to new users. Each user is limited to one trial.