Start your 3-day free trial
Sign up to experience all premium features at no cost.
*Available only to new users. Each user is limited to one trial.
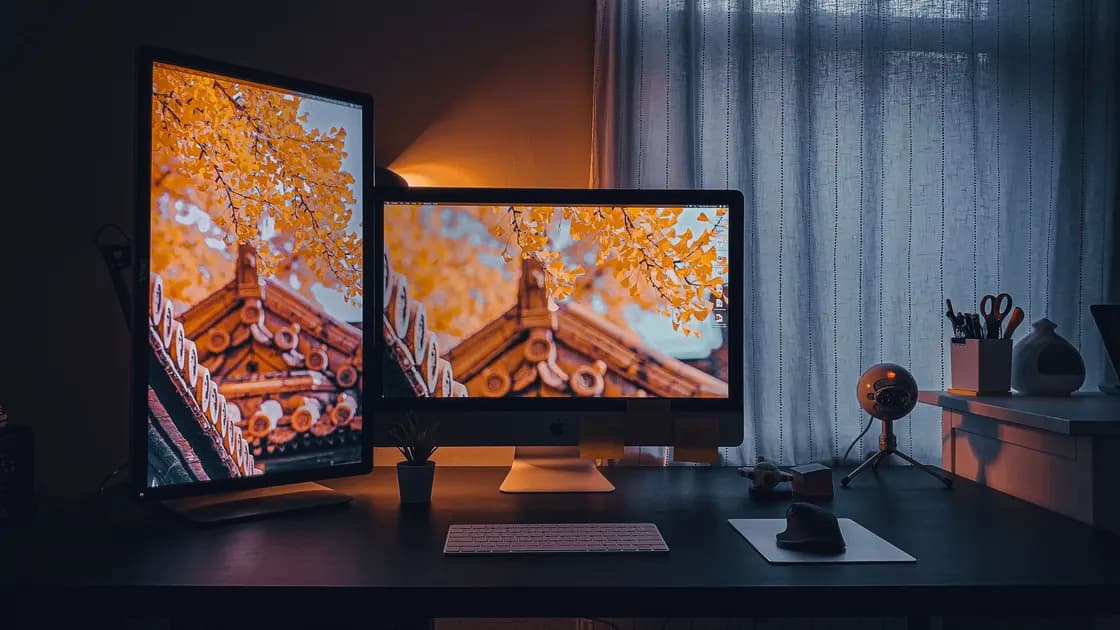

If an external monitor has overscan or cropped edges—a stable picture that cuts off the taskbar, menu bar, or desktop edges, first confirm that the computer is extending to the correct screen. Then disable overscan or choose a screen-fit mode on the display, while keeping the computer on a supported resolution and normal per-display scaling. Do not start with a custom resolution: a zoomed display, a wrong signal mode, and ordinary application scaling can look similar but require different fixes.
Key Takeaways
- Photograph the whole screen and note exactly which edges are missing.
- Check the selected external display, resolution, scaling, and mirror state.
- On a TV, look for Screen Fit, Just Scan, Full Pixel, or a PC input mode.
- Test a direct digital connection before changing graphics-driver controls.
- Stop if there is connector damage, abnormal heat, a burning smell, or arcing.
Use the device and app troubleshooting guide for the general isolation method. This article assumes the external screen is detected and keeps a picture. If the mode you need is absent, use the wrong-resolution guide. If the screen has no signal, use the external-monitor detection guide.
Open a plain desktop with a visible menu bar, taskbar, corners, and pointer. Move the pointer to each physical edge. Record whether all four edges disappear by a similar amount, only one side is missing, or the desktop fits but text and controls are simply large. Also check whether a single application is in full-screen or zoomed mode. A browser at 125% zoom can enlarge page content without cropping the operating-system desktop.
Take a photo that includes the display bezel; a screenshot cannot show pixels hidden beyond the visible panel. Compare the same desktop on the built-in screen. If only the external screen loses a thin band around every side, overscan is likely. If windows are too large but their borders remain reachable, system scaling is more likely. If the image is stretched, circles become ovals, or black bars appear, inspect aspect ratio and output resolution.
Do not combine this symptom with blurry text. Cropping describes missing image area; blur describes how visible pixels are rendered. First restore the complete desktop, then use the external-monitor text guide if letters still look soft.
Preserve the baseline: computer model, operating-system version, display model, input name, cable and adapter, selected resolution, refresh rate, scale percentage, and whether displays are extended or mirrored. Change one item at a time so a successful result identifies the responsible layer.
Overscan makes the display enlarge an incoming picture and hide its outer pixels. It originated in television workflows where edge content was not considered safe. A computer desktop needs every pixel, so overscan can hide menus, taskbars, window controls, and pointer targets. Underscan does the opposite: it shrinks the picture and leaves a border around it.
Apple describes adjusting overscan or underscan when content on a TV or projector extends beyond the screen or leaves a border. It also notes that some displays provide their own setting, while supported Mac configurations may expose an Underscan control.[1] The name varies by manufacturer. Common display-side choices include Screen Fit, Just Scan, 1:1, Full Pixel, Dot by Dot, Native, or a PC input label. Read the manual for the exact model rather than assuming similarly named modes behave identically.
Use the display remote or physical controls to inspect picture size for the active input. Select the mode that preserves the complete source image without stretching it. A television may store this choice separately for each HDMI input and signal type, so changing HDMI ports can make the symptom return. Do not use service menus or undocumented calibration codes.
If an Underscan slider is available on the computer, use only enough adjustment to reveal the whole desktop. A large correction can conceal a mismatched signal mode. Prefer disabling display-side overscan when the display offers an accurate 1:1 or PC mode, because that keeps the computer output and panel mapping easier to reason about.
Select the external display in system settings before changing anything. Multi-monitor controls are per display, and adjusting the built-in panel cannot fix a TV on another output. Confirm the external screen uses a resolution and refresh rate documented for the display and connection. Microsoft documents a multi-display case where wallpaper may not fit after connection and recommends checking each display's resolution rather than treating the screens as one identical surface.[2]
Resolution determines the pixel dimensions of the signal. Scaling changes the apparent size of text and controls without normally cutting off the desktop. Aspect-ratio processing decides how the display fits one shape into another. Keep these controls separate. Start from the display's recommended or native resolution, a standard refresh rate, normal orientation, and the operating system's recommended scale. Then check whether every desktop edge is visible.
If the recommended resolution is missing, stop this path and follow the wrong-resolution article. Do not create a custom timing merely to compensate for cropped edges. A custom timing can exceed a display, adapter, or cable capability and may make recovery harder. Likewise, do not lower resolution repeatedly until the desktop happens to fit; a television can overscan multiple resolutions.
On the display, set aspect ratio to the option intended for an unmodified computer signal. Avoid Zoom, Cinema Zoom, Wide Zoom, or overscan modes. If the panel is ultrawide but receives a 16:9 signal, decide whether you want black bars or a supported wider computer mode; stretching is not a valid repair for missing pixels.
Mirroring asks two displays with potentially different native shapes and capabilities to show one common desktop. The system may select a compromise mode, letterbox one screen, or let a TV process the signal as video. Switch temporarily to an extended desktop and select the external screen's recommended mode. If the crop disappears, mirroring compatibility—not panel damage—is the key boundary.
Graphics utilities may contain scaling controls such as Maintain Aspect Ratio, Full-screen, Centered, GPU Scaling, or Resize Desktop. Record their current values before changing them. Prefer operating-system and display controls first. If a vendor utility has a documented overscan or desktop-resize control for the exact connection, make a small reversible adjustment and confirm it applies only to the affected screen.
Resetting all graphics settings can erase color profiles, variable-refresh choices, rotation, and application-specific settings. Do not use a broad reset as the first test. Never install an unknown driver package or EDID override from a forum. Use operating-system updates and graphics drivers from the computer, GPU, or platform vendor, and keep a record of the previously working version.
If only a remote-desktop, game, or media application is cropped, leave the operating-system geometry unchanged. Exit full screen, reset the application's zoom or resolution, and test a standard window. An application that renders at a fixed aspect ratio is a separate layer from display overscan.
Build a simple path: computer, one known-good supported cable, and the display. Remove docks, splitters, capture devices, receivers, converters, and KVM switches. Select the matching input manually. If the complete desktop appears on the direct path, add intermediaries back one at a time and check which component changes the reported resolution, color mode, or picture-size behavior.
A passive cable usually does not apply zoom by itself, but an active converter, video receiver, scaler, or dock can present different display information or limit supported modes. Compare its documentation with the resolution and refresh rate in use. A VGA or composite path is especially likely to involve analog position or television processing; use a direct digital connection when both devices support it.
Try another documented input on the display and another documented output on the computer. Remember that the TV may save picture-size settings per input. If one input works, compare settings before declaring the other port defective. Power down before reconnecting equipment when the manufacturer requires it, and never force a connector.
Inspect plugs and ports for bent metal, looseness, debris, discoloration, or heat. Do not insert tools or spray cleaner into an energized port. Stop using a damaged cable or adapter. A stable but cropped picture usually points to geometry, but physical damage deserves separate service rather than repeated reconnection.
Use a controlled matrix. Test the affected display directly with the recommended resolution, recommended scale, extended mode, and the display's 1:1 or screen-fit setting. Then test one alternative cable or computer if available. For every run, photograph the bezel and all desktop edges, and record the mode reported by both the computer and display.
If the display crops every compatible source on one input, reset only that input's documented picture settings or contact the display maker. If the display works with another computer but the original computer crops multiple known-good screens, update the supported operating system and graphics driver, then contact the computer or GPU vendor with the matrix. If cropping appears only through an intermediary, its scaler, firmware, or capability is the next support boundary.
Avoid a factory reset until you have saved calibration values and confirmed the manual says it affects the relevant picture setting. A reset may erase channel, accessibility, color, audio, and network configuration without fixing a computer-side mode. Keep the last working cable, port, and settings documented so the symptom can be reproduced safely.
Seek service immediately for arcing, smoke, a burning smell, liquid ingress, a loose mains connector, cracked insulation, or abnormal heat. For ordinary cropping, support needs the computer and display models, OS and firmware versions, connection path, input, resolution, refresh rate, mirror state, picture-size setting, photos of all edges, and the direct-path result.
Many televisions apply overscan or a video-oriented picture-size mode to some inputs. Choose the exact model's Screen Fit, Just Scan, Full Pixel, 1:1, or PC mode when available.
No. Overscan hides outer source pixels. System scaling normally changes the size of text and controls while leaving the complete desktop reachable.
No. Start with the display's recommended resolution. A TV can overscan several resolutions, and lowering the signal may make text less clear without restoring correct geometry.
Mirrored screens must share a compatible mode despite different shapes or capabilities. Test extended mode so the external display can use its own recommended resolution and aspect ratio.
Some vendor tools provide a documented desktop-resize control. First check the selected display and its own picture-size mode, then make only a small reversible per-display change.
An active adapter, dock, receiver, or scaler can change available modes or display identification. Compare a direct known-good connection, then add each intermediary back separately.
The computer captures the rendered desktop before the display enlarges it. A photo including the bezel is better evidence of pixels hidden by display-side overscan.
Contact the relevant vendor when supported screen-fit and direct-path tests still crop the desktop. Stop sooner for damaged connectors, smoke, odor, liquid, arcing, or abnormal heat.
Sources checked 9 September 2026.
Sign up to experience all premium features at no cost.
*Available only to new users. Each user is limited to one trial.