Start your 3-day free trial
Sign up to experience all premium features at no cost.
*Available only to new users. Each user is limited to one trial.
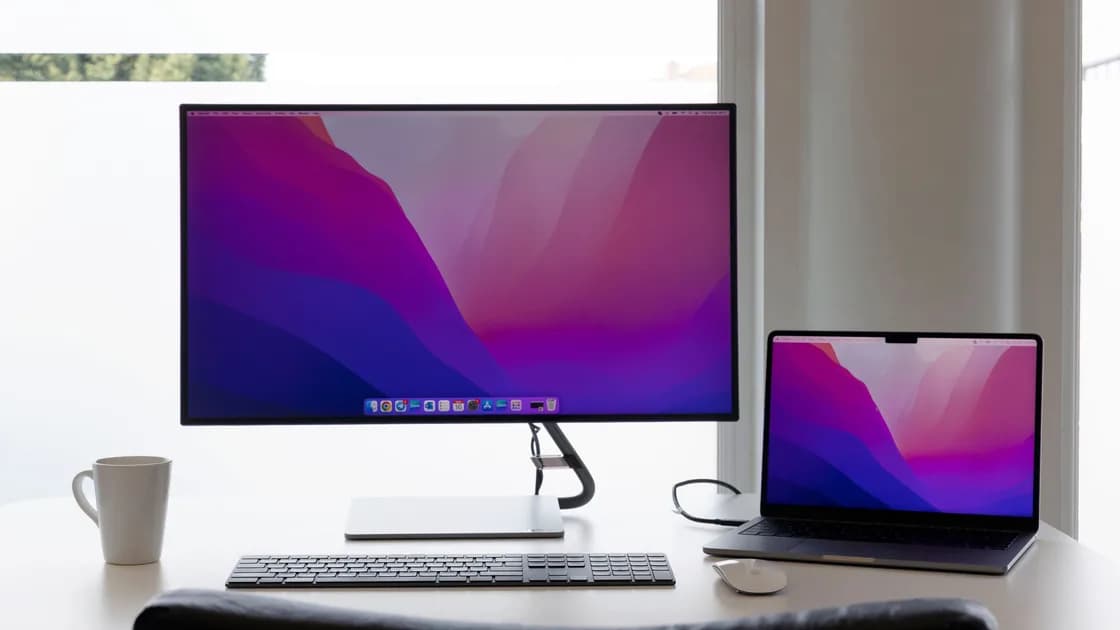

If an external monitor uses the wrong resolution while still showing a picture, first select that exact display in system settings and compare the chosen mode with the monitor manufacturer's native or recommended resolution. Then separate resolution from scaling, mirroring, refresh rate, and aspect-ratio controls before testing the cable, adapter, dock, port, and graphics limits.
Key Takeaways
- Confirm which display you are changing and record its reported model.
- Use the monitor's native or recommended resolution before adjusting scaling.
- Test extended mode because mirroring can limit both screens to a shared mode.
- Bypass adapters, docks, KVMs, and receivers to isolate the signal path.
- Treat custom resolutions as a last, model-specific diagnostic—not a first fix.
The device and app troubleshooting guide explains the evidence-first method used here. This article assumes the screen is detected and displaying an image. If it is absent or says no signal, use the external-monitor detection guide. If the resolution is correct but the refresh rate is capped, follow the 60 Hz troubleshooting guide.
Open the operating system's display settings and use Identify, Arrange, or the equivalent control. Select the external panel rather than the built-in screen. Record the monitor name, current resolution, refresh rate, orientation, scaling percentage, and whether the desktop is mirrored or extended. A generic name can mean that an adapter, dock, KVM, or receiver is not forwarding complete display identification.
Compare the offered setting with the native resolution in the exact monitor manual. Native resolution describes the panel's physical pixel grid. A television may label that mode by a format such as 4K, while a computer monitor may list pixel dimensions. Do not infer the answer from diagonal size alone.
Mirroring requires both displays to use a compatible presentation. If a laptop panel and external monitor have different shapes or pixel grids, the system may choose a shared lower resolution, add borders, or scale one output. Switch temporarily to extended desktop mode and reselect the external monitor. If its native mode appears, mirroring—not a defective panel—created the restriction.
Also check orientation. A portrait setting on a landscape monitor swaps the expected dimensions. If the desktop fills the panel but icons merely look larger or smaller, the underlying resolution may already be correct and scaling is the relevant control. Microsoft distinguishes display resolution from scale and recommends using the option marked Recommended.[1]
Resolution controls how many pixels the computer sends. Scaling changes the apparent size of text and controls while normally retaining the selected pixel grid. The monitor's aspect or overscan setting controls how that signal is fitted to the panel. These settings solve different problems.
Use the operating system's recommended resolution, then choose a comfortable per-display scale. On macOS, the Displays panel may present choices as larger text or more space rather than raw timings; Apple notes that holding Option while selecting a scaled control can expose additional resolutions on supported versions.[2] On Chromebook, select the external monitor in Displays and change its display size, resolution, orientation, or refresh rate independently when those controls are supported.[3]
If the desktop is cropped, has black borders, or looks stretched, inspect the monitor or television menu for aspect ratio, overscan, screen fit, or pixel mapping. Use the documented computer or 1:1 mode. Avoid using a custom resolution to compensate for television overscan; it can hide part of the desktop while leaving the actual signal mismatch unresolved.
Take a photo of the monitor's information page or write down the incoming signal. Compare that number with the operating system setting. A system that says 3840×2160 while the monitor reports 1920×1080 points to an intermediate scaler or duplicated mode. Matching numbers with oversized text point back to scaling.
A connector's shape does not establish its capability. The computer output, cable, adapter, dock, KVM, receiver, and monitor input all need to support the requested resolution together with the chosen refresh rate and color format. One older component can remove a mode from the system list even though a picture still appears.
Create a simple connection inventory. Write down the computer model and port, every intermediate device, cable type and length, monitor input, number of active displays, and requested resolution plus refresh rate. If USB-C is involved, confirm that the exact port supports video; the USB-C video support guide explains why charging or data support alone is not enough.
Run controlled tests:
If native resolution appears only at a lower refresh rate, the combined mode exceeds some limit in the path. If it appears through a direct cable but not through a dock, check the dock's exact per-port and multi-display specifications. Do not assume its headline maximum applies when several monitors or USB devices share bandwidth.
Monitors advertise supported timings through display-identification data, commonly called EDID. A poor cable, converter, KVM, sleeping dock, firmware fault, or unusual startup order can leave the computer with incomplete or cached information. Symptoms include a generic monitor name, missing native mode, incorrect physical size, or a list that changes after reconnecting.
Save work, then use the least disruptive reset first: turn the monitor off and on, reseat the cable, select the input manually, and reopen display settings. If needed, shut down the computer and power-cycle the dock and monitor according to their manuals before reconnecting one known-good path. Install operating-system, graphics, dock, and monitor firmware updates only from their publishers, and change one layer at a time.
On managed computers, graphics drivers or display policies may be controlled by an administrator. Record the exact missing mode, connection path, monitor model, driver version, and whether a direct connection changes the result. That evidence is more useful than repeatedly reinstalling a driver.
Avoid registry edits, unsigned display overrides, and random EDID files. An override for a similar monitor can request timings that the actual panel or adapter cannot handle. If the system offers the native mode after a clean direct test, repair the identified intermediate component rather than masking it with an override.
Computers can impose limits by model, processor, graphics adapter, port, lid state, and the number of attached displays. A device advertised for one high-resolution screen may allow different combinations when two or three screens are active. Read the specification for the exact computer configuration, not merely the product family.
Test the affected monitor alone. If its native mode returns, add displays one by one and note each resolution and refresh rate. Reduce refresh rate before reducing resolution when the goal is sharp desktop text, provided the lower rate remains comfortable and officially supported. Disconnecting a display is a diagnostic step, not necessarily a permanent solution; a different port topology or capable dock may support the intended layout.
Remote desktop, virtual machines, screen recorders, DisplayLink-style software, and corporate display agents can introduce virtual modes. Test at the local desktop after a normal restart. Do not remove managed software without approval. Capture whether the problem exists before sign-in, for every account, or only inside one session.
Use a custom resolution only when the monitor and computer manufacturers document the exact timing and the native mode is still missing through a verified direct connection. Record the original settings and choose a reversible option. Stop if the monitor reports an unsupported signal, repeatedly disconnects, flickers, becomes hot, or requires recovery through safe mode.
Seek manufacturer or administrator support when the native mode is absent with a known-good supported cable and direct port, when the monitor reports corrupt identification, when a port is loose or damaged, or when the mode disappeared after a managed firmware or driver rollout. Provide the connection inventory, screenshots of both settings and the monitor information page, and results of the single-display test.
Resolve the display mode through the operating system and the documented signal path. Monitor EDID, graphics-output support, and cable, adapter, or dock bandwidth are separate constraints; a VPN cannot change those capabilities or unlock a resolution the hardware path does not support.
Select the correct external display, use its native or recommended resolution, and separate resolution from scaling and aspect ratio. Test extended mode and a single direct connection, then add docks, adapters, and other displays one at a time. If the correct mode remains absent, compare the exact computer, graphics, port, cable, and monitor capabilities before considering a documented custom timing or service.
The wrong display may be selected, mirroring may require a shared mode, or a cable, adapter, dock, input, graphics limit, or incomplete EDID may remove 4K from the offered list. Test the monitor alone through a direct supported connection.
Choose the monitor manufacturer's native or recommended resolution, not simply the largest number. Larger unsupported or virtual modes may be scaled and less clear.
Normal operating-system scaling keeps the selected pixel grid and changes interface size. Some compatibility modes or intermediate scalers can behave differently, so compare the system setting with the monitor's incoming-signal information.
Mirrored displays need a compatible presentation. Different aspect ratios and capabilities can force a shared lower mode. Extended desktop mode lets each display use its own supported setting.
Yes. A path can carry a lower-bandwidth picture while failing to support the requested resolution, refresh rate, and color combination. Verify every component's exact specification.
They form one display timing. The native resolution may appear only at a lower refresh rate when the path has limited bandwidth. If resolution is correct and only the rate is wrong, use the dedicated refresh-rate guide.
Use only a driver or profile published for the exact model. First prove the direct signal path and system updates are sound; generic driver sites and copied EDID overrides add risk.
It may clear a mistaken aspect or input mode, but it also erases calibrated settings. Record current values and follow the manufacturer procedure only after simpler checks.
Sources checked 8 September 2026.
Sign up to experience all premium features at no cost.
*Available only to new users. Each user is limited to one trial.