Start your 3-day free trial
Sign up to experience all premium features at no cost.
*Available only to new users. Each user is limited to one trial.

If microphone volume is too low even though the device is detected and its input meter moves, record a short local sample, confirm the exact input, and bring the microphone to its intended speaking distance before raising gain. Then check hardware gain, the operating system's input level, app-specific processing, and the wired, USB, or Bluetooth signal path. The goal is clear speech with headroom, not the highest possible meter reading.
Key Takeaways
- Prove the microphone receives sound before using this guide.
- Select the exact physical input in both the operating system and the app.
- Fix distance and orientation before adding large amounts of gain.
- Compare a local recording with a call to separate capture from app processing.
- Stop raising gain when speech clips, pumps, or amplifies electrical noise.
The device and app troubleshooting guide provides the general isolation method. This article assumes an input meter responds and a recording contains recognizable sound. If there is no signal, the microphone is absent, or permission is denied, use the microphone-not-working guide.
Open the system sound input page and speak at a steady conversational level. Watch which meter moves. A laptop may expose its built-in array, a monitor microphone, a webcam microphone, a USB interface, a dock, a Bluetooth headset, and a virtual device at the same time. Similar names are not proof that the intended capsule is active.
Select the physical input explicitly, then make a ten-second recording in the operating system's built-in recorder. Say the microphone name, your approximate distance, and the current input level. Listen through headphones at a normal playback level. Do not judge capture volume from speaker loudness alone, because the playback device has its own volume control.
Microsoft's microphone troubleshooting guidance tells users to select the input device, start a test, speak, and adjust input volume while observing the result.[1] Apple likewise exposes an input-device list, an input-volume control, and a live level indicator in Mac sound settings.[2] These controls establish whether the low level exists before the call app receives the signal.
In the calling or recording app, select the same named input rather than leaving “default” enabled for the first comparison. Disconnect an unused webcam, monitor, or headset if names remain ambiguous. If the local sample becomes loud when you speak toward a different device, the original problem was source selection, not microphone sensitivity.
Avoid using a virtual mixer, voice changer, noise-removal utility, or broadcast package until the basic path is measured. Each virtual stage may have its own fader, mute, gate, or channel mapping. Preserve the simple physical-input recording as the baseline.
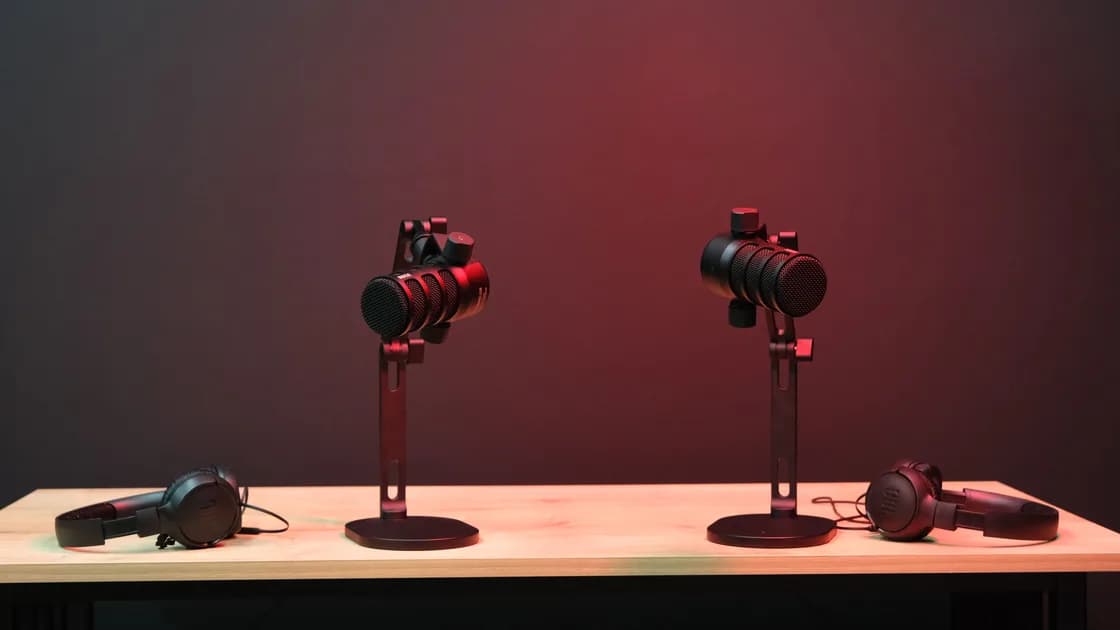
Place the microphone according to its design. A headset boom generally belongs near the corner of the mouth, not beside the ear or directly in the breath stream. A laptop array works best at normal seating distance with openings unobstructed. A directional desk microphone may reject sound arriving from the rear or side. Confirm the front and pickup pattern from the maker's documentation instead of using the logo as a universal clue.
Move closer in small steps while keeping your voice constant. Doubling distance can reduce direct voice level substantially while room reflections and keyboard noise remain. If moving from one meter to 15–30 centimeters produces a clean, strong sample, keep the better position rather than compensating with extreme software gain. Use a stand or boom that does not transmit desk vibration.
Inspect physical mute switches, inline remotes, headset boom positions, interface pad switches, channel selectors, and gain knobs. Some headsets mute when the boom is raised. Some USB interfaces have separate input gain and headphone volume; turning up headphones does not increase capture. If a condenser microphone requires phantom power, use it only when the microphone and interface explicitly support it. Never apply phantom power merely as a volume experiment.
Speak across a close microphone rather than directly blasting air into it. Stop if the connector is loose, the cable is damaged, the interface becomes unusually hot, or movement causes crackles. Replace or service unsafe hardware instead of holding a plug at an angle.
Use one repeatable phrase for every sample. Record normal speech and one louder phrase. A good setting captures normal speech clearly and leaves space for the louder phrase. If peaks flatten, sound harsh, or produce red overload indicators, lower the nearest hardware gain stage before changing downstream software.
Set the hardware position first, then adjust the operating system's input volume. Raise it gradually while speaking the same phrase. Do not assume 100 percent is correct: the scale may control digital gain, an analog preamplifier, or a device-defined combination. Listen for rising hiss, electrical hum, clipping, or background noise as well as louder speech.
Think of the path as a chain: capsule, hardware preamp, device firmware, system input level, virtual processing, application input, and remote playback. A low setting early in the chain cannot always be repaired cleanly by a large boost later. Conversely, an overloaded preamp remains distorted even if the app fader is low. Adjust the earliest appropriate stage while preserving headroom.
On Windows, use the selected input's test and level controls, then check any maker-supported device properties. Avoid copying a “microphone boost” value from another model; some devices do not expose boost, and high boost can amplify noise. On macOS, select the correct input and adjust Input volume while watching the Input level meter.[2] If the selected device has no adjustable system input level, check its maker's instructions for the appropriate hardware or software control.
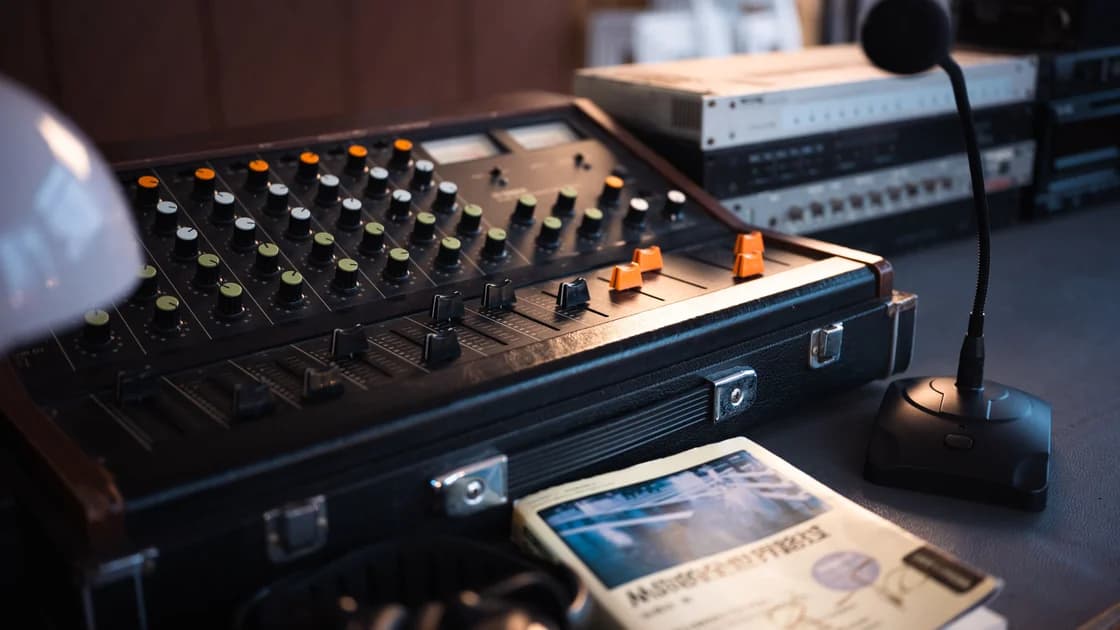
For a USB audio interface, verify the microphone uses the intended channel and the app records that channel or a compatible mono mix. Speaking into input 1 while the app listens only to input 2 can produce silence; listening to a quiet bleed or the wrong side of a stereo pair can produce a misleading low signal. Follow the interface maker's routing instructions.
Save a new local sample after each meaningful adjustment. Normalize neither sample during diagnosis, because automatic loudness matching hides the difference you are trying to measure.
Compare the clean local sample with the app's test call or a recording made inside the app. If local capture is healthy but call speech is quiet, inspect the app's selected input, automatic microphone level, noise suppression, echo cancellation, voice isolation, gate, and background-effects settings. Change one control at a time and return it to the original value if it does not help.
Automatic gain can be useful, but it may lower a signal after a loud sound or move level up and down in a noisy room. A noise gate may remove quiet word endings because they fall below its threshold. Aggressive noise suppression may treat distant or soft speech as background. For one controlled test, use the app's standard or unprocessed mode if officially supported; do not disable organization-required protections.
Check per-participant or per-input controls only after confirming the correct direction. A remote listener's output volume does not change what you send. Likewise, raising your headphone volume may make others louder but leaves your microphone untouched. Ask one trusted participant to describe your received level, or use the service's supported test-call playback.
Browser and desktop versions can maintain separate device choices. If the problem is confined to one client, update it through the official channel and reset only its documented audio settings. Do not install an unofficial codec pack or grant broad system access to an unknown “volume booster.”
If every call app is quiet but the local recorder is normal, check shared virtual audio software and operating-system communication processing. If only one account or managed workspace is affected, preserve the account and policy details for the administrator rather than bypassing them.
For an analog microphone, confirm the connector and port support the same headset or microphone wiring. A headphone-only jack cannot capture a microphone, while a combined headset jack may require the correct TRRS standard or a maker-approved splitter. A faint bleed is not evidence of a compatible input. Test a known-good supported adapter rather than stacking several converters.
For USB, connect the microphone or interface directly for one sample. Remove an unpowered hub, dock, extension, or KVM and note whether the input level or available format changes. Use a data-capable cable; a charge-only cable would more often prevent detection, but damaged or marginal connections can cause unstable behavior. Keep other interface settings unchanged during the comparison.
For Bluetooth, confirm the app is using the headset microphone rather than a distant laptop or webcam array. Bluetooth devices may expose different playback and communication paths. When the headset microphone becomes active, playback quality can also change; that expected call-mode question is covered by the Bluetooth call-quality guide. Low microphone level still requires checking boom position, selected input, device level, battery, and supported mode.
Do not confuse a quiet microphone with intermittent wireless audio, pairing failure, or one silent earbud. If the device disconnects or never becomes available, use the appropriate connection guide. Keep this test focused on a stable, detected input whose meter moves.
Return to a controlled baseline: correct physical input, normal speaking distance, documented orientation, moderate hardware gain, default system processing, and a local recorder. Make two labeled samples, one with the original path and one after replacing a single component or host.
Test the microphone on another compatible computer, or test a known-good microphone on the original computer. For a headset, compare its wired or USB mode if the maker supports one. For an interface, swap one cable and one input channel separately. A low level that follows the microphone suggests its capsule, boom, cable, internal electronics, or firmware. A problem that stays with the computer suggests its port, routing, system setting, driver, or shared processing.
Use only stable updates from the operating-system, computer, microphone, headset, or interface maker. Preserve screenshots of input names and levels, sample files, model numbers, connection path, and the exact app version. That evidence is more useful to support than a claim that the microphone is “too quiet.”
Seek service when a known-good microphone is normal on the same path but the original remains abnormally low at the documented distance, when the cable or connector is physically damaged, or when the interface clips or crackles at ordinary gain. Do not open mains-powered equipment or defeat grounding. If the microphone belongs to an organization, use its support channel before changing managed drivers or routing.
The wrong microphone may be selected, the capsule may be too far away, or an earlier hardware gain stage may be low. A 100 percent system slider cannot repair poor placement or an under-driven preamp cleanly.
Use only a maker-supported boost and raise it gradually after fixing distance and hardware gain. Boost amplifies noise as well as speech and can cause clipping, so maximum is not a target.
Follow the headset manual; a common position is near the corner of the mouth and outside the direct breath stream. A boom beside the ear or far below the chin may capture speech weakly.
The calling app may use another input, automatic level control, noise suppression, a gate, or a managed policy. Compare its test-call output with the unchanged local sample.
Yes. Aggressive suppression or gating can mistake distant, soft, or breathy speech for background noise. Test the app's supported standard mode and improve microphone placement first.
No. Headphone or speaker volume controls what you hear; microphone input level controls what you send or record. USB interfaces often provide separate knobs for both.
The dock may alter power, USB routing, format availability, or channel selection. Make one direct-connection sample with the same microphone settings to isolate the dock.
Seek service when the low level follows the microphone across compatible devices at the documented distance, or when there is cable damage, a loose connector, crackling, overheating, impact, or liquid exposure.
Sources checked 10 September 2026.
Sign up to experience all premium features at no cost.
*Available only to new users. Each user is limited to one trial.