Start your 3-day free trial
Sign up to experience all premium features at no cost.
*Available only to new users. Each user is limited to one trial.


For an after-hours rental car return, follow the location's written instructions and create a continuous record from your arrival at the return area through the key handoff. Photograph the parked vehicle, its condition, mileage, fuel level, location, and the completed drop, then obtain a timestamped acknowledgment as soon as the office reopens.
Key Takeaways:
- Confirm that the exact branch accepts unattended returns and when responsibility transfers.
- Park only in the named return area and record signs, bay number, date, local time, and location.
- Capture an ordered exterior and interior set before surrendering the keys.
- Record the instrument panel, fuel receipt, key envelope, drop box, and submission confirmation.
- Keep original files and ask the branch to confirm check-in in writing.
This task belongs in a broader international travel preparation plan. It concerns proof of the return event itself, not a decision about damage liability, fuel fees, tolls, or a card hold.
Check the rental agreement, confirmation email, branch page, and any return leaflet before the office closes. Confirm that after-hours return is allowed at the exact branch, not merely somewhere in the same airport or city. Note the return entrance, permitted bays, gate procedure, key-drop location, fuel rule, grace period, and telephone number.
Ask when the company treats the vehicle as returned. Some terms may leave the renter responsible until staff inspect and check in the car, even though the keys were deposited earlier. European consumer guidance therefore recommends checking the vehicle with the rental company at collection and return where possible, and recording visible damage when a joint inspection cannot happen.[1][2]
Save the instructions offline. A branch webpage or app message may be difficult to retrieve in an underground garage, and a generic airport map may direct you to a different operator's lane. If the directions conflict, contact the branch or the rental company's official support channel and request written clarification.
Create a short checklist before driving to the return point: deadline in local time, address, entrance, parking area, key process, fuel requirement, and the booking number. This separates a navigation delay from the actual time you reached the designated return area.
Begin the evidence sequence when you enter the return facility. Capture the branch or operator sign, the return-lane sign, and enough surrounding context to show that you used the intended location. If the facility issues an entry ticket, keep it and photograph both sides.
Park only in a bay authorized by the instructions. Take one wide image showing the vehicle in relation to the bay and signs, then a closer image of the bay number or level. If there is no numbered bay, record landmarks such as the row, pillar label, floor, or zone without photographing unrelated people's vehicles more closely than necessary.
Write down the local date and time, and preserve the camera originals with their metadata. A phone clock screenshot can supplement the sequence, but it should not replace environmental evidence. Location history may be helpful if you already use it, yet it is not proof that the correct car was parked in the correct bay.
If the named area is blocked, full, or inaccessible, do not invent a new return point. Call the official assistance number, document the obstruction, and ask for a specific alternative. Save the name or case number of the person who directed you.
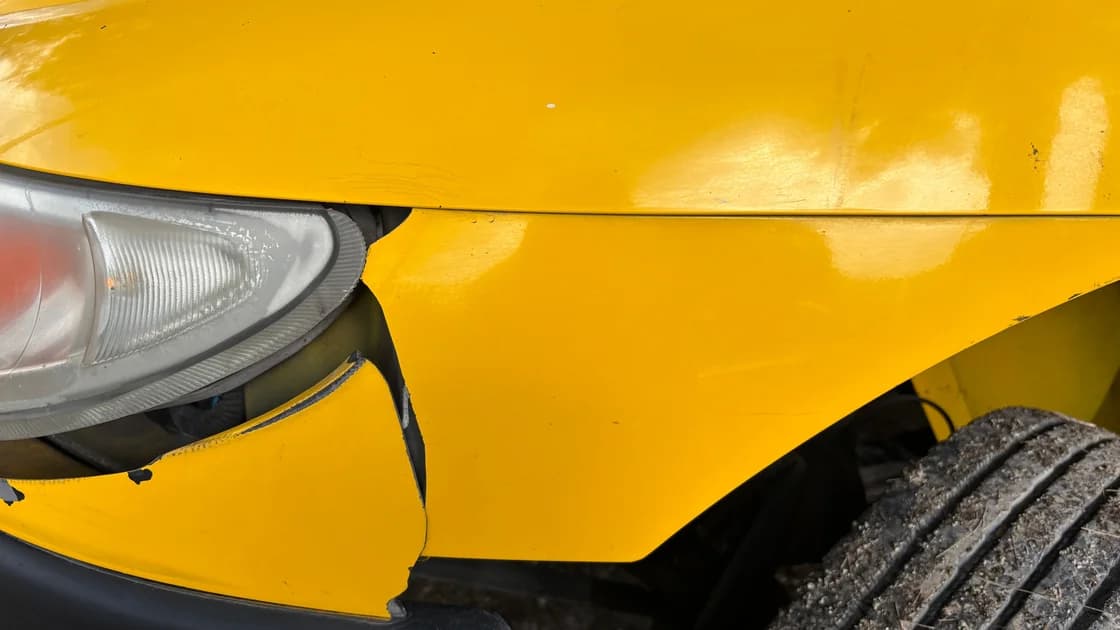
Take the condition set after parking and before dropping the key. Use a repeatable route: front, front-right corner, passenger side, rear-right corner, rear, rear-left corner, driver side, and front-left corner. Stand far enough back to show whole panels, then add close-ups for any pre-existing mark already listed on the collection report.
Photograph the wheels, windscreen, mirrors, lamps, roof edges visible from the ground, and lower bumpers. Do not climb, enter a traffic lane, or put yourself under the vehicle for evidence. Good lighting matters; use the garage lighting or a steady flashlight, but avoid glare that hides a panel.
Inside, record the seats, dashboard, footwells, boot or cargo area, and any removable equipment supplied with the vehicle. Check door pockets, glove compartment, charging cables, child-seat accessories, and the spare-wheel or repair-kit area only where the agreement expects those items. Remove personal property and follow the separate rental-car digital privacy checklist for paired phones and saved destinations.
A slow video walk-around can show continuity, but still photographs are easier to inspect and compare. Use both if time and safety allow. Do not edit, annotate, or recompress the originals; make separate copies if you need to circle an area later.
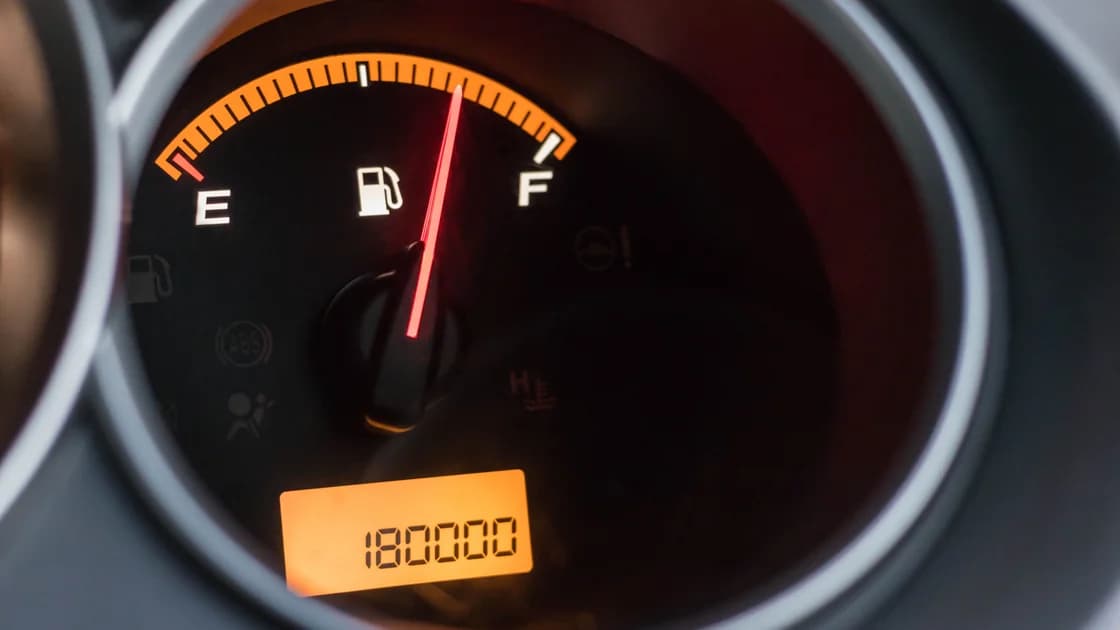
Turn the ignition to the safe accessory state specified by the vehicle instructions and photograph the full instrument panel. The frame should clearly show the odometer, fuel or charge level, warning lights, and the vehicle context. If the display cycles between trip distance and total mileage, capture both and note which is which.
Keep the final fuel or charging receipt. It should show the seller, date, local time, quantity or charging session, and amount where available. Record the distance between the station and return facility if it explains a small change in the gauge. The FTC advises renters to understand return and refueling terms and to keep documents that show compliance.[3]
Photograph anything the return instructions require you to leave: parking ticket, toll device, charging cable, parcel shelf, child seat, or key card. Do not leave passports, payment cards, the rental agreement's only copy, or sensitive documents in the car.
Use a compact return note that links the facts: booking number, registration plate, bay, odometer, fuel or battery level, local arrival time, key-drop time, and any case number. This is more reliable than trying to reconstruct the sequence after a charge appears.
Complete any return envelope before giving up control of the keys. Photograph the filled fields while shielding your address, card details, and other unnecessary personal information. If the envelope has a detachable receipt or serial number, keep it.
Take a contextual image of the official key box and its branch label. Then record the key entering the slot or the closed drawer immediately after deposit, without obstructing the mechanism. Do not place the key on top of a box for a staged photo, and never post an image that reveals a key tag, reservation barcode, or access code.
If the process uses an app or kiosk, save the final confirmation screen and any email or SMS it generates. A draft form, open camera page, or spinning upload indicator is not a completed submission. Check that the booking number, branch, vehicle, and time are correct before leaving.
If the box is full, damaged, unlabeled, or inaccessible, retain the keys and contact official support unless the written instructions provide a safe alternative. Record the problem and the instructions you receive. Leaving keys with an unrelated hotel, parking attendant, or security desk without authorization can break the evidence chain.
Before departing, verify that the files actually open and that the sequence includes the return signs, bay, full vehicle, close-ups, interior, dashboard, fuel evidence, key handoff, and completion message. Keep originals in at least two controlled locations, such as the device and an encrypted backup, without posting them publicly.
Send a concise message through the rental company's official channel. State the booking number, vehicle registration, branch, bay, local return time, and key-drop time; attach only the minimum useful images. Ask for a case number or acknowledgment, not an immediate conclusion about condition or charges.
When the branch reopens, request written confirmation that staff located the vehicle and completed check-in. Compare that time with your return record and save the final return receipt. If a later notice alleges damage, use the dedicated rental-car damage charge process; if it alleges refueling, use the unexpected fuel charge checklist.
Keep the record until the final rental statement, card entries, deposit release, and any claim period are settled. If an insurer or card benefit requests proof, preserve the submission receipt as part of a wider travel claim evidence file.
Not always. The key drop is one part of the record; combine it with the return-area signs, bay, vehicle, local time, and a submitted message or kiosk confirmation. The contract may also distinguish your drop time from the company's later inspection time.
Record the whole vehicle first, then any visible mark in context and close-up. Do not put yourself in danger or claim that poor lighting proves a panel was flawless. Preserve the images and explain any lighting limitation accurately.
Document the full or blocked designated area and contact the rental company's official support channel. Follow a specific authorized alternative and keep the case number. Do not silently leave the vehicle in an unrelated car park.
Metadata can support a timeline, but it should not stand alone. A stronger record also shows operator signs, the bay or zone, the registration plate, and the completed key or digital handoff.
Send enough to establish the return facts and preserve every original separately. Large attachments can fail, so retain the sent message, upload receipt, and any case number rather than assuming an outbox entry was delivered.
Keep it until the final statement, payment entries, deposit release, and applicable complaint or claim periods have passed. Longer retention may be sensible if a charge, insurer request, or legal dispute remains open.
No. It can establish what you observed and did at particular times, but the agreement, inspections, other evidence, and applicable law determine responsibility. Avoid editing originals or making claims that the images cannot support.
Disclaimer: This guide provides general documentation information, not legal, insurance, or contractual advice. Local rules, facility procedures, and rental terms vary; follow the instructions that apply to your booking and prioritize personal safety.
Sources checked 6 September 2026.
Related Reading:
Sign up to experience all premium features at no cost.
*Available only to new users. Each user is limited to one trial.